In this article you are going to learn about how to publish and host an ASP .Net Core Web API project on IIS.

Tools
Visual Studio
.Net Core SDK (Any Compatible Version)
IIS Manager
Continuing from my previous article I’m going to use my project which I created already. There are several ways to do this but we will discuss the simplest way to do this. Just follow the steps as defined below.
Steps
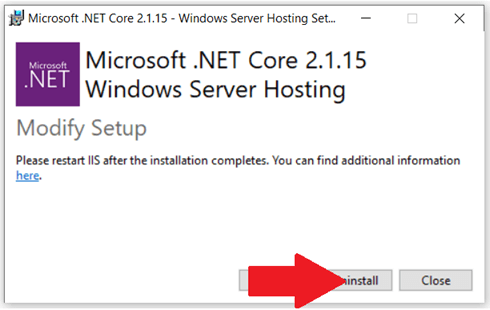
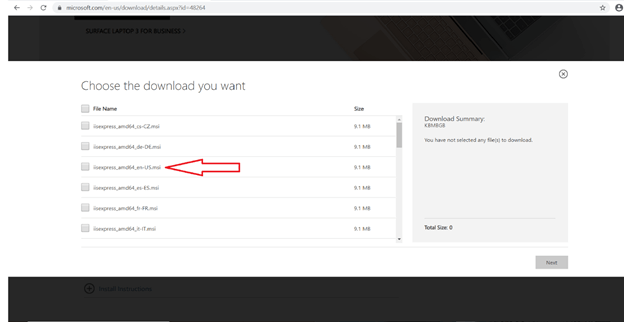
First download .Net Core SDK compatible with your API version, I’m using .NET Core 2.1 so I downloaded it from here.
After downloading the SDK, open it and install it on your PC.
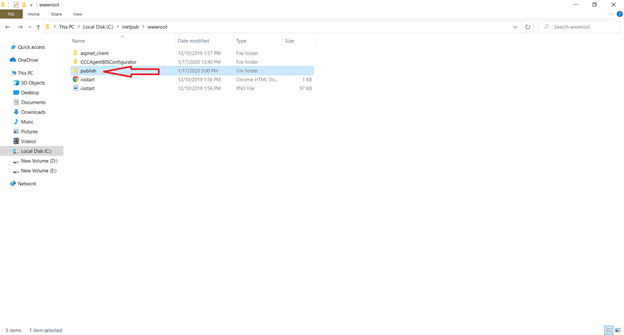
After installation create a new folder in C:\inetpub\wwwroot directory with the name “publish” as shown in figure below.
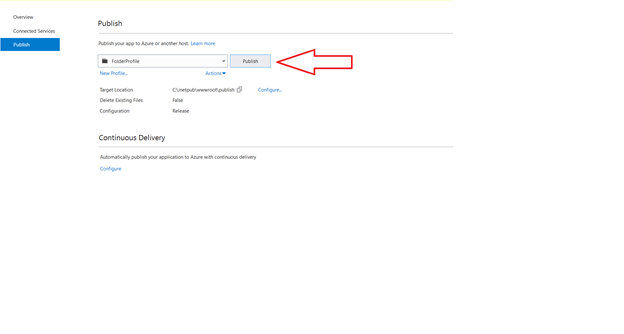
Right click the project and select Publish.

Visual Studio gives a default path, you can publish your API there but I am using another way to do this. So, click on browse.

Select the folder (publish) you created before and click Open.

After this the target location for publish project files will be changed, then simply click Publish.
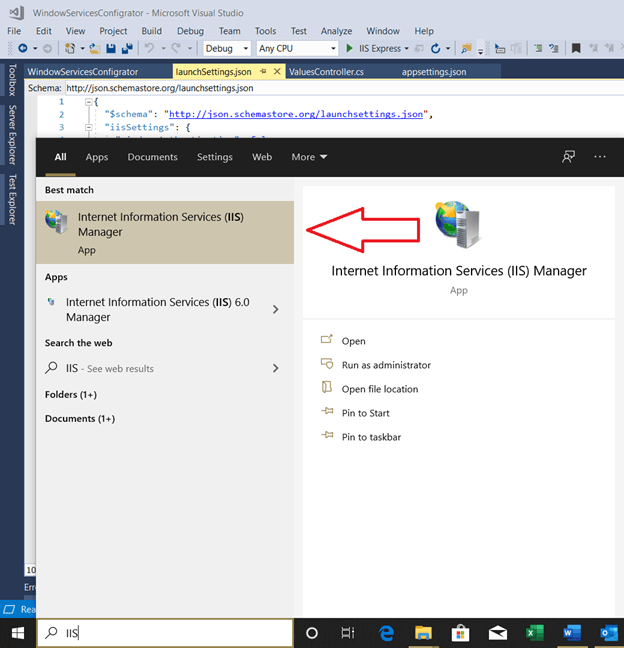
It will take some time to publish. After the files are published, Open IIS Manager.
Now open IIS Manager.
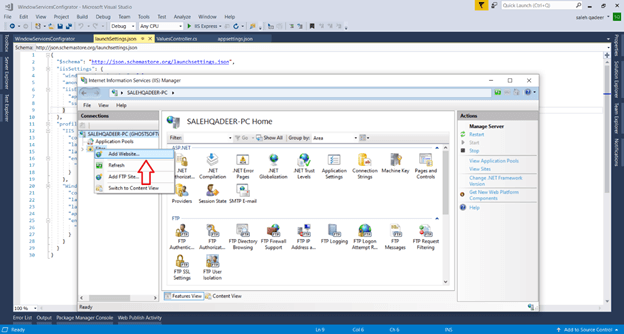
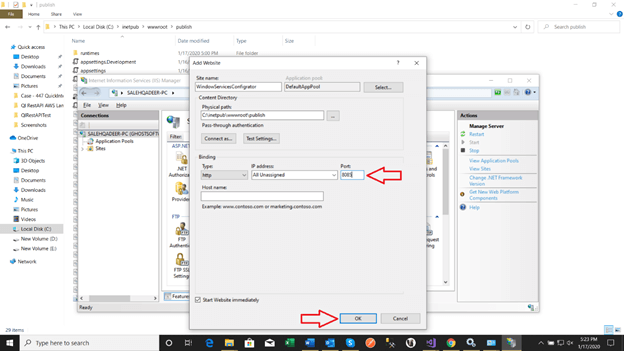
Expand your connection and right click on Sites folder to add Website.
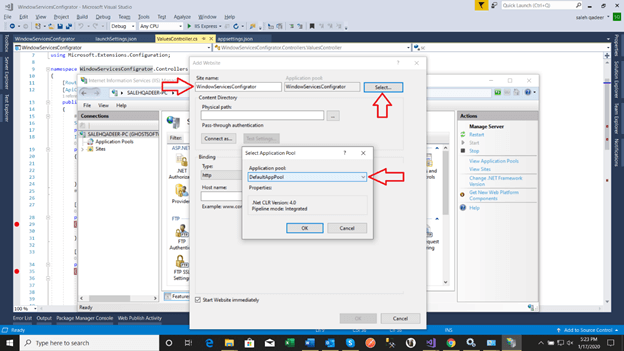
Give the site name and the Select the application Pool to DeaultAppPool.
Give a physical path of your folder where you published the API project.
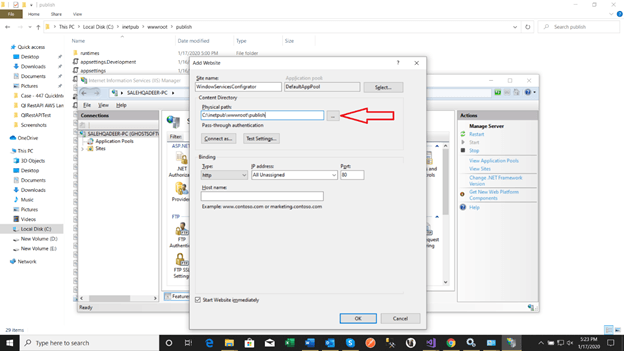
Give the Port number 8085 or any you want and then click OK.
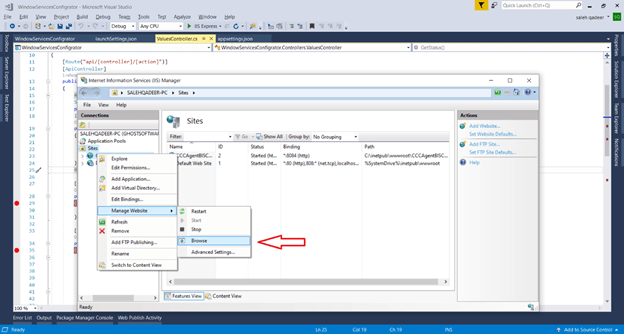
Right click on your new added site and Manage Site and click Browse, it will automatically open your hosted website in the browser.
Now give the URL http://localhost:8085/Values/GetStatus, this is the actual path of your Controller action and after writing just press enter. You will see the following results.
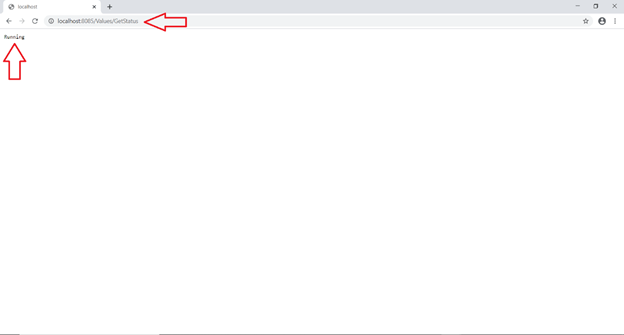
You can test other actions also by giving their URL as in given example above.
Conclusion
This article provides a brief introduction of publishing .NET Core Web API project and hosting it on IIS. Hope you find it useful and helpful for your work or studies.