September 24, 2021 08:03 by
 Peter
PeterThis article covers how to configure Dynamic IP Restrictions.

Introduction
IP Address and Domain Restrictions is one of the great built-in features of IIS 8. Configuring this feature allows a website administrator to selectively permit or deny access to the web server, websites, folders or files that makes your server more secure. One can configure and set the limits based on specific IP address(es) or frequency of requests from a specific IP over a period of time. By default all the clients requesting the website are permitted all access unless specifically rejected.
Background
This feature was available in previous versions of IIS where you can block one IP or range of IP addresses. The disadvantage in this was first you need to know the person doing suspicious activity on your website based on the tools like Log Parser for checking the site logs then you can just block that IP or range of IP addresses using Deny Rules. Most of professional attackers (hackers) will use a variety of IPs from proxy servers so by the time you've blocked a handful a new range could be starting up.
Installing IP Address and Domain Restrictions in IIS 8
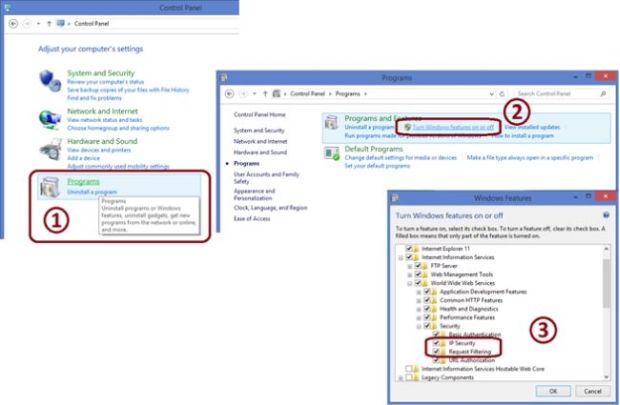
This feature is not installed by default. One must install the feature from the Turn Windows features On and Off window.
For that use the following procedure:
Open the Control Panel.
Click on the Programs feature.
In that Click on Turn Windows features on or off under Programs and Features.
Install the required features.
Configuring IP address and Domain Restrictions in IIS Manager
Open the IIS Manager. (Click WIN+R, enter inetmgr in the dialog and click OK. Alternatively, search for IIS Manger in the Start window).
Click on the IP Address and Domain Restrictions feature in the feature pane under the IIS section.
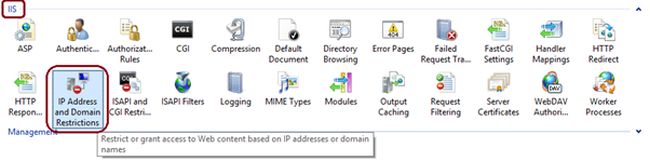
Once you opened this feature, you will see a window as in the following image.
The Action Pane elements are the elements used for defining the rules for allowing or denying the specific IP address(es). Let's have a deeper look into each of these elements.
Edit Feature Settings
- This action is used for specifying the default access to all unspecified clients in Add and Deny rules.
- On clicking this action, it will open up a window as in the following image.
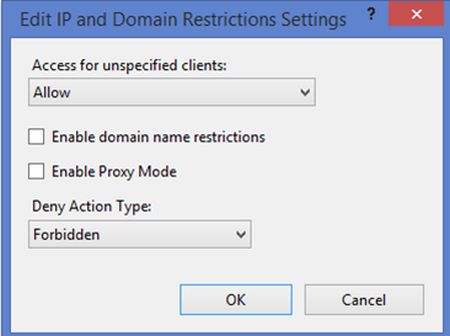
- Select Allow in the Access for unspecified clients dropdown if you are to allow all clients by default else select Deny.
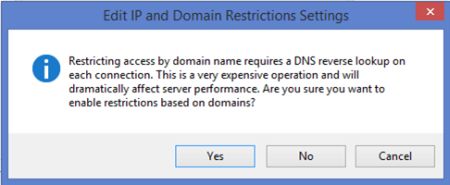
- If you want to configure rules based on the client's DNS name then check the Enable Domain Name Restrictions checkbox. If you click on OK to save the settings when this checkbox was checked then it will show a warning (as in the following image) that states that doing DNS lookups is a potentially expensive operation. Click on Yes to enable DNS lookup restrictions.
- If you want to enable the requests that come through a proxy server then check Enable Proxy Mode checkbox.
- Choose the Default Deny Action Type for sending the response to clients when you are denied a request. It can be either Unauthorized (401), Forbidden (403), Not Found (404) or Abort the request.
- Once you have selected your options click on OK to save the settings.
Add Allow/ Deny Entry
- These two action types are used for defining the rule for allowing or blocking the specific IP address or range of IP addresses.
- On clicking the action, it will open one window as provided in the following image.
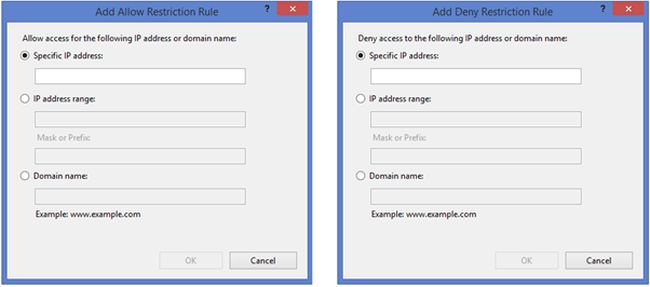
- To create a rule for a specific IP Address, select Specific IP Address and enter the client IP address in the provided TextBox.
- To create a rule for a range of IP addresses, select IP address range and enter the subnet and subnet mask in the provided textboxes. For example, to permit access to all IP addresses in the range from 192.168.8.0 to 192.168.8.8 then enter the subnet as 192.168.8.0 and subnet mask as the 255.0.0.0.
- If you have enabled Domain Name Restrictions in the feature settings, then you will be able to set restrictions based on DNS names else this option will not be available. To create a rule for a client domain name, then select Domain name and enter the DNS name.
- After entering the details click on OK to add the rule.
Edit Dynamic Restriction Settings
- This is the new feature that came with IIS 8.
- On configuring this feature one can secure their web applications from automated attacks like Dictionary attacks.
- This action allows to dynamically determine whether to block certain clients, based on number of concurrent requests at a time or number of requests over a period of time.
- On clicking this action, it will open a window as provided in the following image.
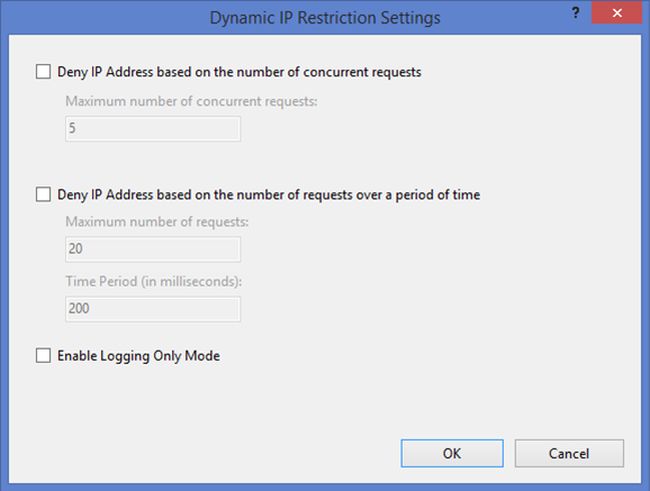
- If you want to restrict the client based on a number of concurrent requests, then check the Deny IP Address based on number of concurrent requests check boxand enter Maximum number of concurrent requests count in the provided TextBox.
- If you want to restrict the client based on number of requests over a period of time, then check the provided checkbox and enter the details in the provided textboxes.
- Check the Enable the Logging Only Mode checkbox if you want IIS to log requests that would be rejected.
View Ordered List
- This action is used for changing the rule priority.
- On clicking this action, you will be able to see the screen that is showing rules places in the order and with multiple action elements as provided in the following image.
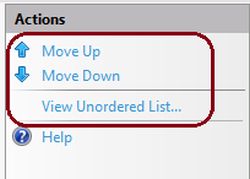
- Rules located at the top of the list have higher priority.
- Use Move Up and Move Down actions to change the priority of the rules.
- Once you are done with changing the order of the rules then click on View Unordered List to return to the screen that allows you to add and remove rules.
Remove
- This action is used to remove the rules that are not required.
- To view this action click on any of the rules in the feature pane and then click on Remove to remove the rule.
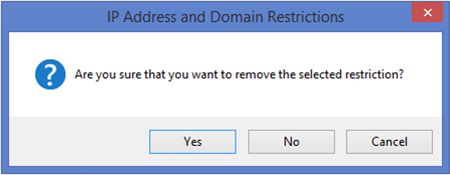
- On clicking Remove, you will get a warning as in the following image. Click on Yes to remove the rule.
Feature pane elements that give the information about the rules are applicable to the current web site or virtual application.
Mode
- This displays the type of rule. It contains the values, either Allow or Deny, that indicates whether the created rule is to allow or deny access to content.
Requester
- This displays the specific IP address or range of IP addresses or domain name defined in the Add Allow/Deny Restriction Rule.
Entry Type
- This displays whether the item is local or inherited. Local items are added in the current application level and inherited items are added from a parent application level.
September 21, 2021 07:02 by
PeterMVC4 has gone through some major changes in Windows Authentication functionality with IIS Express. In this article you will learn how to enable Windows Authentication in MVC4 Web Application on IIS Express. Just use the following procedure.
On the Cassini web server it was quite difficult to test Windows Authentication. It also doesn't support SSL, URL Rewriting Rules and so on. With IIS Express as your development server you allows have full advantage of all web-server features (SSL, URL Rewrite Rules and so on). IIS is a full-fledged web-server, which means you'll get an experience closer to what it will work like when you deploy the application on a production server.
Use the following procedure to enable this in MVC4.
Step 1
Create an MVC Web Application, preferably using an Internet Application template or Intranet Application template.
Step 2
Open the Web.config file and make the following modifications:
<authentication mode="Forms">
<forms loginUrl="~/Account/Login" timeout="2880" />
</authentication>
<authentication mode="Windows" />
I just commented out the Form Authentication and added Windows Authentication.
Step 3
By default MVC apps use Form Authentication and Simple Membership, so you need to make it "false" to run Windows Authentication.
<appSettings>
<add key="webpages:Version" value="2.0.0.0" />
<add key="webpages:Enabled" value="false" />
<add key="PreserveLoginUrl" value="true" />
<add key="ClientValidationEnabled" value="true" />
<add key="UnobtrusiveJavaScriptEnabled" value="true" />
<add key="autoFormsAuthentication" value="false" />
<add key="enableSimpleMembership" value="false"/>
</appSettings>
Step 4
Select the project name in Solution Explorer and then in the Property Explorer, click to enable Windows Authentication.
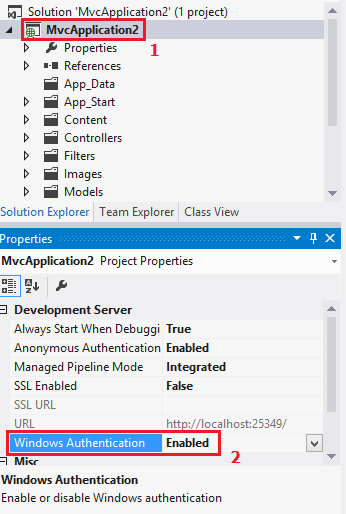
These settings are called development server settings that work with IIS Express and they don't make any changes in the actual configuration settings.
Step 5
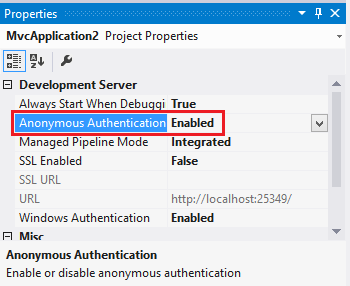
In the property explorer you can disable the Anonymous Authentication if you want your complete website for authenticated users on the development server.
Step 6
If you have already disabled the anonymous authentication as suggested in Step 5 above then you don't need to do/repeat this step.
If you don't then let's go and make a controller action for authorized users, as given below.
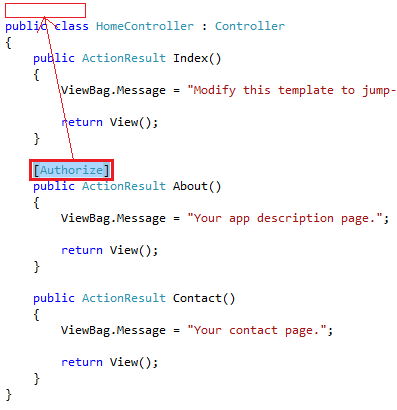
Alternatively, you can use an [Authorize] action filter with the controller directly instead of individual action methods to make every action method for authorized users.
Step 7
Notice that in the step above I'm using an [Authorize] action filter with an "About" action. So, when I hit the about view page, I'll be prompted to enter my Windows credentials.
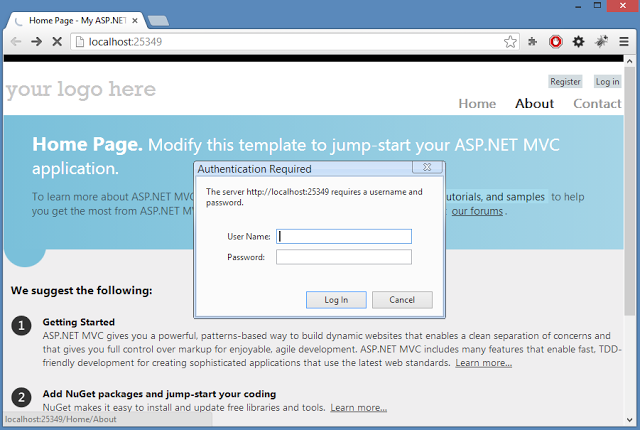
When I entered my credentials and hit Login, I will see my Windows authentication working.
September 10, 2021 10:03 by
PeterFirst open your ASP.Net web application in Visual Studio. Now in the top we have the option Build. Click on that and under Build you will find Publish Website.
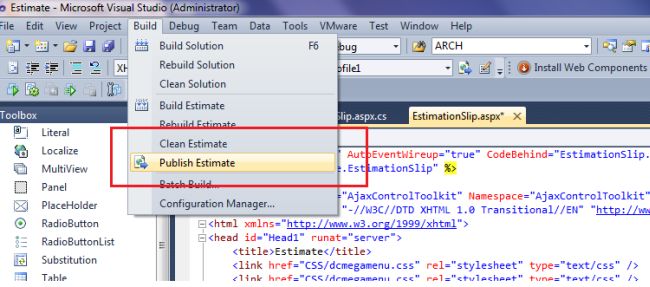
Click on Publish Website. Now open the publish web pop-up.
For Publish method select File System.
For Target location specify where to save your web application DLL file.
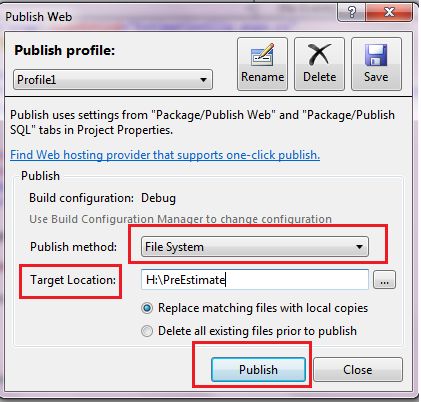
Then click on publish.
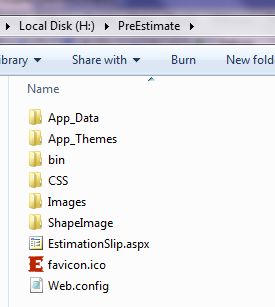
Go to the target folder and in that location, you will see your web application DLL file.
Now open IIS manager. (Type inetmgr in the Run command.)
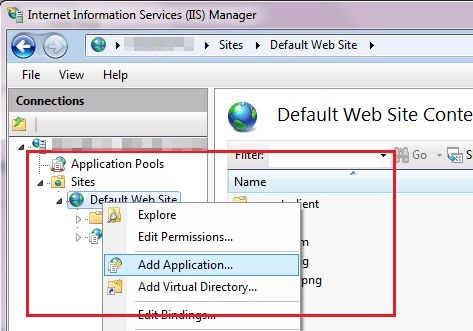
Right-click on Default Application and Add Application.
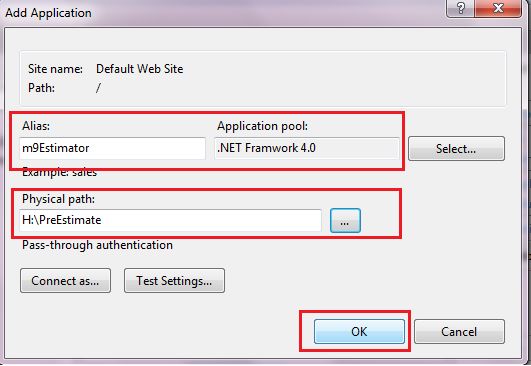
Enter Alias name then select an Application pool and Physical path.
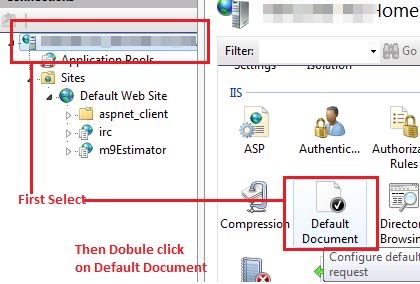
Now Double-click on default document.
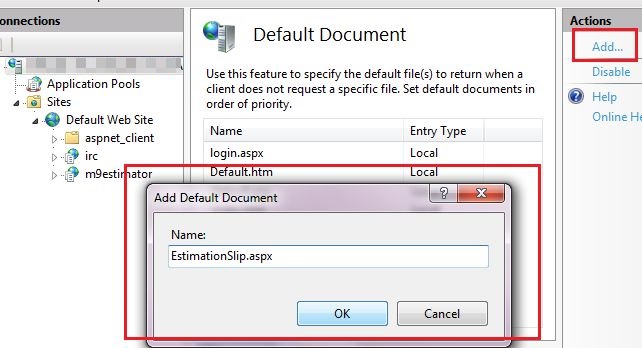
And add a start page of your web application. Here my application start page is EstimationSlip.aspx.
Now right-click on your application and browse.
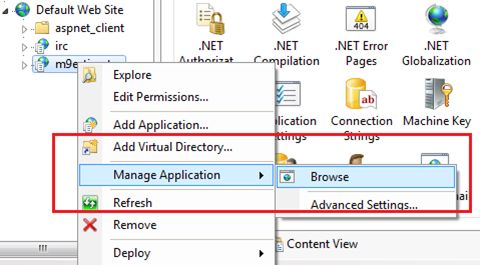
See your application without Visual Studio.