IIS 7.5 and IIS 8.0 European Hosting

BLOG about IIS 7.5 Hosting, IIS 8.0 Hosting and Its Technology - Dedicated to European Windows Hosting Customer

IIS Hosting Europe - HostForLIFE :: Access Website Hosted In IIS On Windows 10 From Any PC On LAN

clock October 21, 2022 08:07 by author Peter

In this article, we will learn about Access Website Hosted In IIS On Windows 10 From Any PC On LAN


Prerequisites

    Windows 10 PC with IIS installed. (In this example IIS version is 10 )
    Basic knowledge of website hosting on IIS.

Create a website in IIS
 
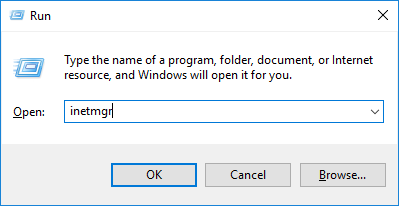
Open run (windows key + R) and type inetmgr and press enter or in Cortana Search type IIS.
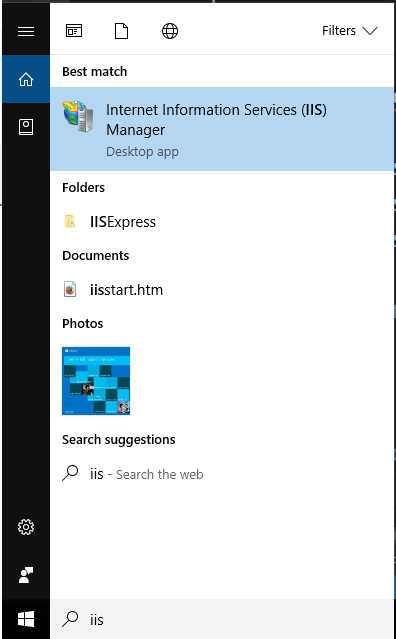
IIS Manager opens.
Then right click on Sites and click on Add Website. The Add website dialog opens.

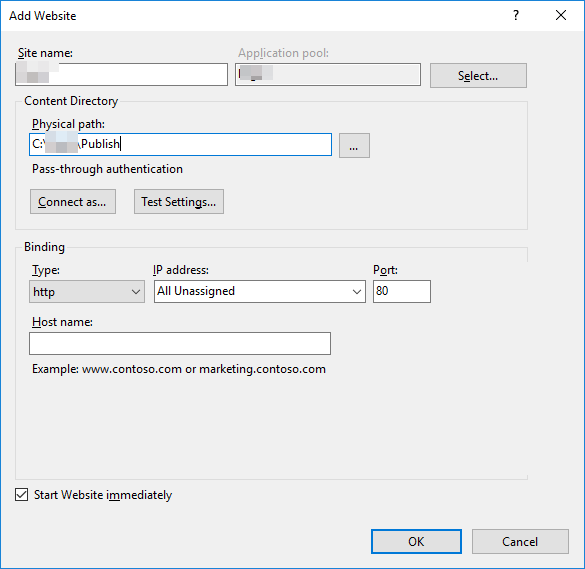
    Fill in required details and select folder where compiled code is located. Eg: C:\Nigel\Publish
    Select required port , default is 80. I will be using 7500.
    Do not enter host name details if you are testing or using on LAN.

Then click ok. A website gets created and it will show under Sites.
 

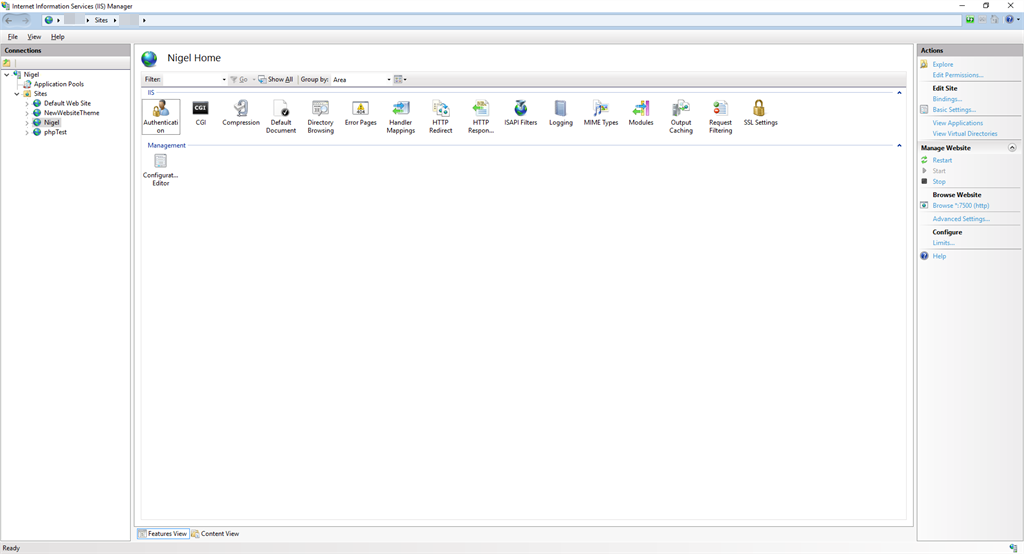
Now right click on website name then Manage website and then click browse.


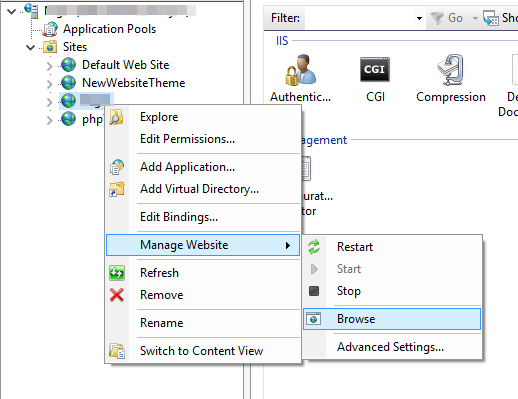
The link should be in the form on http://localhost:7500/  if you used port 7500 and selected http.
Locate your IP Address

Now open command prompt. Type cmd in run.


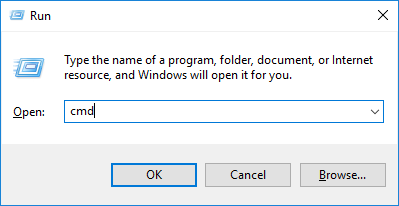
Type ipconfig and press enter. Now locate your PC's IP address on the LAN.


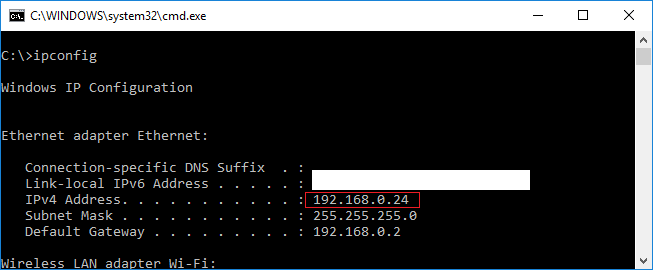
Now in your website link replace localhost with 192.168.0.24 (IP address) so your URL will be - http://192.168.0.24:7500/
Try it in your browser to make sure it works.
 
Change Firewall Rules
In Cortana search type firewall then click on Windows firewall with advanced security.


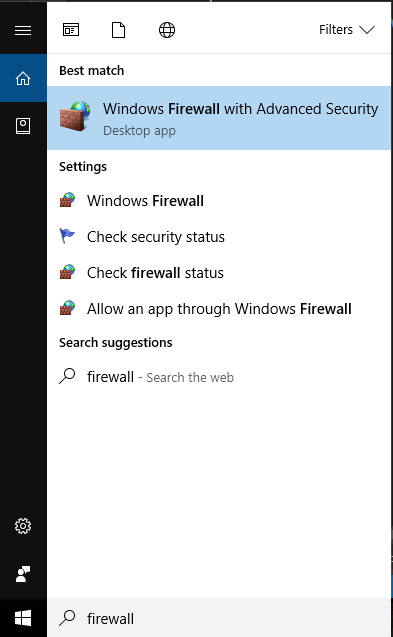
The firewall window opens.


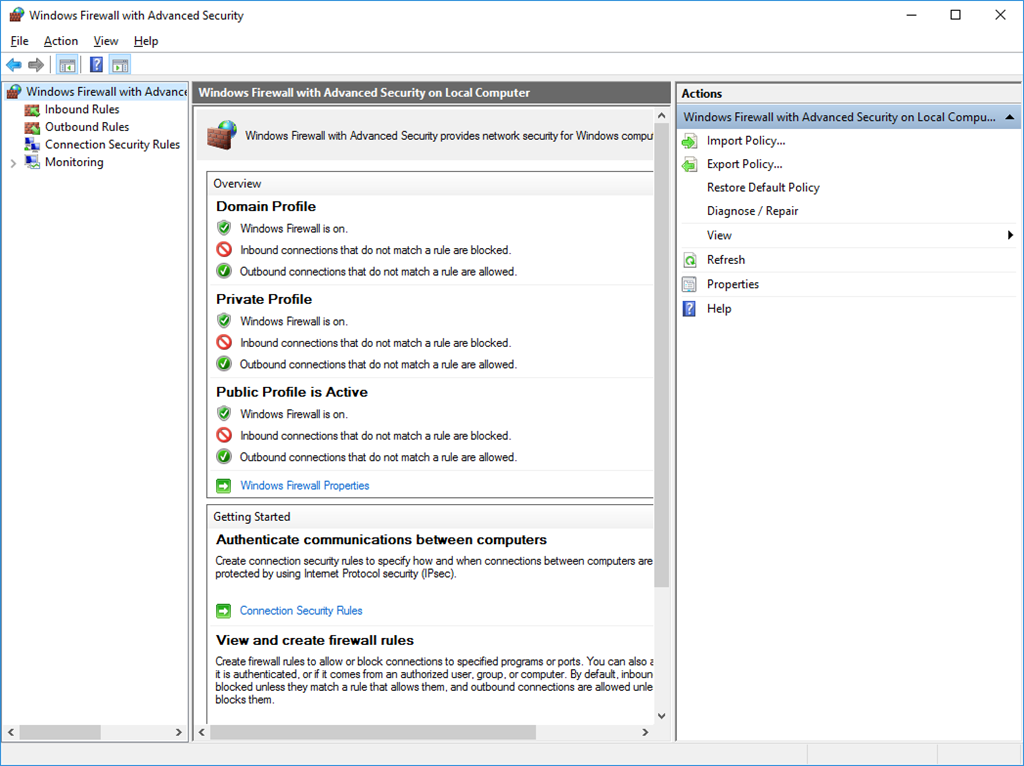
Click on Inbound rules on the left. Then click new Rule in the right side menu.

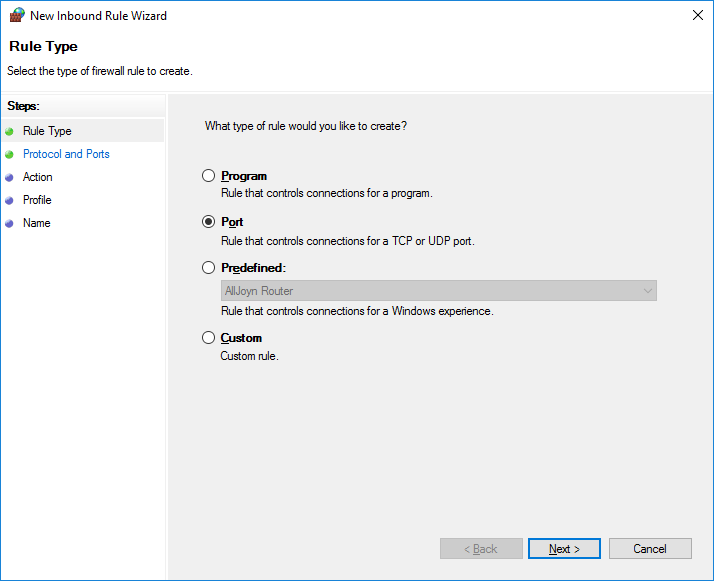
The New inbound rule wizard will open. What type of rule would you like to create? Select Port and click Next.

In Does this rule apply to TCP or UDP? Select TCP. Then enter port number (7500) in specific local ports textbox. Then click Next >.

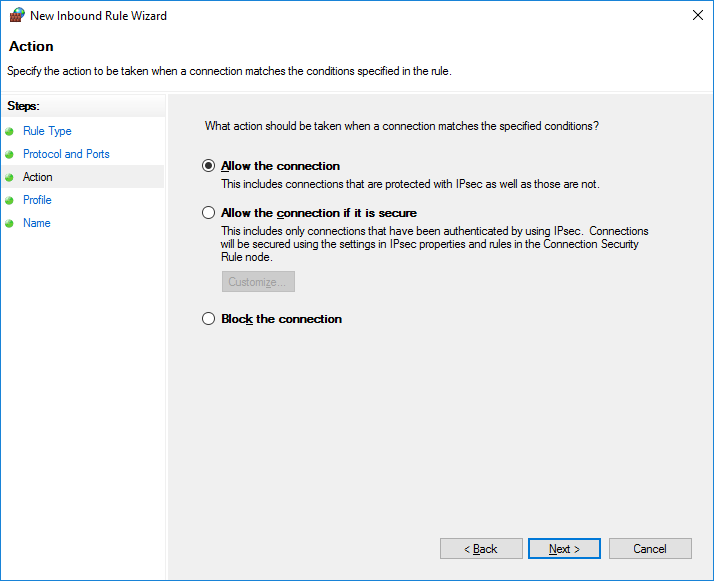
Then the Action form opens. Select Allow the connection and click Next .


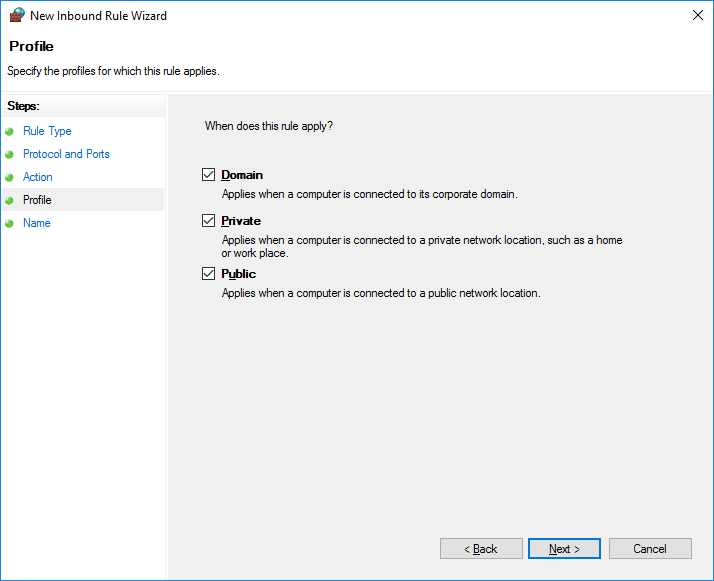
Then the profile form opens. In the When does this rule apply? - Select required ones , if not sure then select all. Click Next.

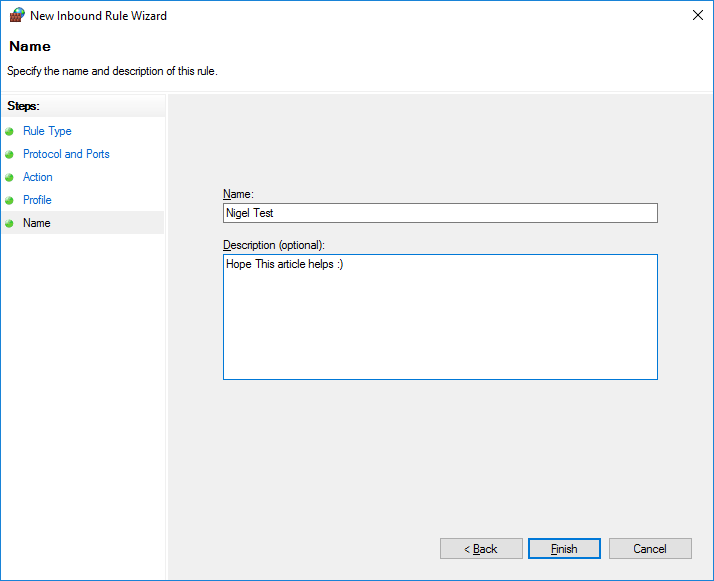
Give this Firewall rule a Name and Description, so you know for what purpose you created this. Then click finish.


Now if you share the link we created earlier with someone else on your LAN it should open your website.
Link example: http://192.168.0.24:7500/
 
Note
    Be careful when changing Firewall setting otherwise you may leave your PC vulnerable to online attacks.
    Only use ports in non standard range (preferably after 9000).
    Once you are done using the website you can delete the Firewall rule.

Summary
In this article, we learned about Access Website Hosted In IIS On Windows 10 From Any PC On LAN.


IIS Hosting Europe - HostForLIFE :: Configure IIS to host your website without Asp.net

clock October 14, 2022 10:44 by author Peter

This article describes how to set up IIS on your PC then host your web site without

Visual Studio Installed.
If you want, in a Client's machine if you don't install Visual Studio but want to host your website in it then you can do this. It can be very usefull for you.

Step 1 : Install IIS on Your Server Machine
Go with this way .

Start -> Control Panel -> Add Remove Programs -> Add/Removes Windows Components.
Then click on Window Component Wizard Internet Information Service (IIS)

Click the Checkbox for Internet Information Service (IIS) then click the next button and select browse to XP Installation CD for Required Files.
 
Then install the .Net Framework.

Step 2 : Install .Net Framework on Your Server Machine.
After IIS installation, install the .Net Framework; which one depends on what you used to develop your web site.


Step 3: After Installation Set Your Web Site For hosting

After IIS installation, on the C drive the Inetpub folder is created.

Copy and paste your web site folder into the wwwroot folder.

Inetpub -> wwwroot -> yourwebsitefolder

Step 4: After pasting your folder is set on the default web site.

Right-click on My Computer then click the manage option.

Manage -> Computer management (Local) -> Internet Information Service -> Website -> Default Web Site.

On right-click default Web Site Click New -> Virtual Directory.

On Virtual Directory Creation Wizard click next then set Alias Name.
After write alias name click next and browse your directory on wwwroot folder website . . then set all Access Permission Checked.
Read...Write...Browse

After finishing check the .Net Framework version; on right-click for your web site properties on the ASP.NET tab. If the version is not selected then choose it ASP.Net Version and set it. Then browse to your web site.

And in the client machine that you want to run the web site in, give the URL with server IP address.

http://192.168.192.1/Onlineshoping/Index.aspx

Enjoy Your Web Project.

Conclusion:
I am try do something helpful.


About HostForLIFE.eu

HostForLIFE.eu is European Windows Hosting Provider which focuses on Windows Platform only. We deliver on-demand hosting solutions including Shared hosting, Reseller Hosting, Cloud Hosting, Dedicated Servers, and IT as a Service for companies of all sizes.

We have offered the latest Windows 2016 Hosting, ASP.NET Core 2.2.1 Hosting, ASP.NET MVC 6 Hosting and SQL 2017 Hosting.


Tag cloud

Sign in