
August 31, 2022 09:31 by
 Peter
PeterToday, I am going to show you how to deploy the React App to the IIS server, so let's grab a cup of coffee and start coding.

What is IIS?
IIS stands for "Internet Information Services", which is a web server provided by Microsoft to host the websites and other stuff on the web.
How to enable IIS?
If you have already enabled IIS then you can skip this step. But if you have not enabled it already then follow the below steps:
Open Control Panel and then click on the "Programs and Features".
Click on "Turn Windows features on or off".
Select Internet Information Services and click on the OK button.
To see whether or not IIS is enabled, press Windows + R key and type inetmgr and click on OK.
IIS Manager is open.
Create a Simple React App
Open a command prompt or your favorite terminal and type the below command to create a react app.
npx create-react-app my-react-app
After successfully creating the app go to the new app.
cd my-react-app
To see how it look likes type the below command.
npm start
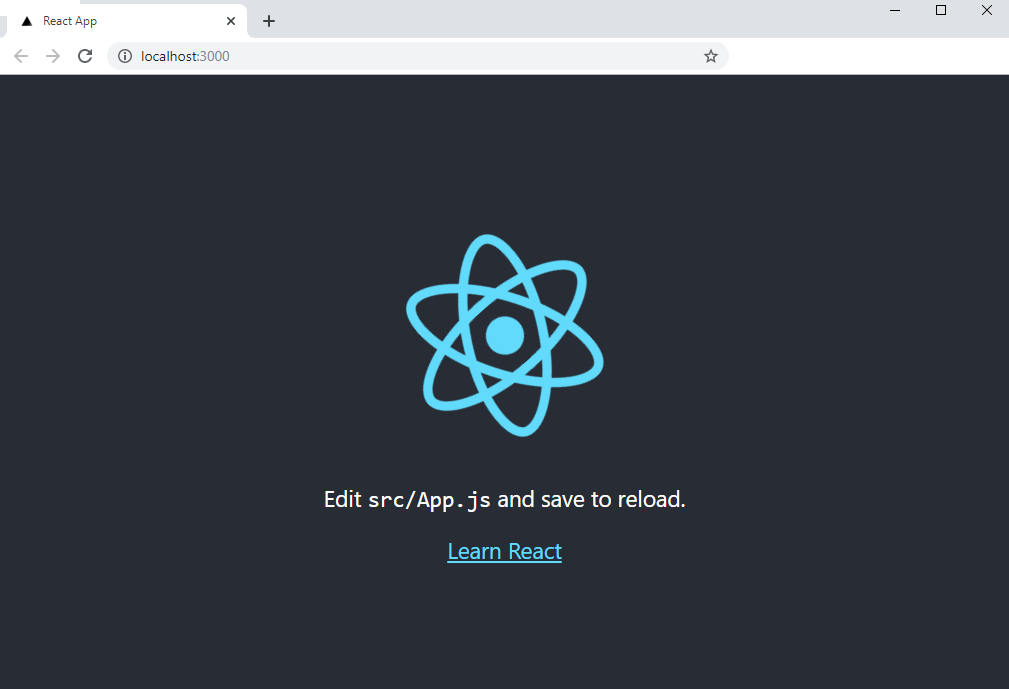
and it will start the development server and navigate you to http://localhost:3000/
You can see the default landing page:
To host an app in any web server we first need to create a production build. To create a production build of our react app use the below command.
npm run build
The output of the above command creates a new build folder inside the project which contains production build. So far we have created a React app & created a production build of that app. Now the next step is to deploy it on IIS. Press Windows + R key and write inetmgr to open the IIS Manager. You can see the below screen.
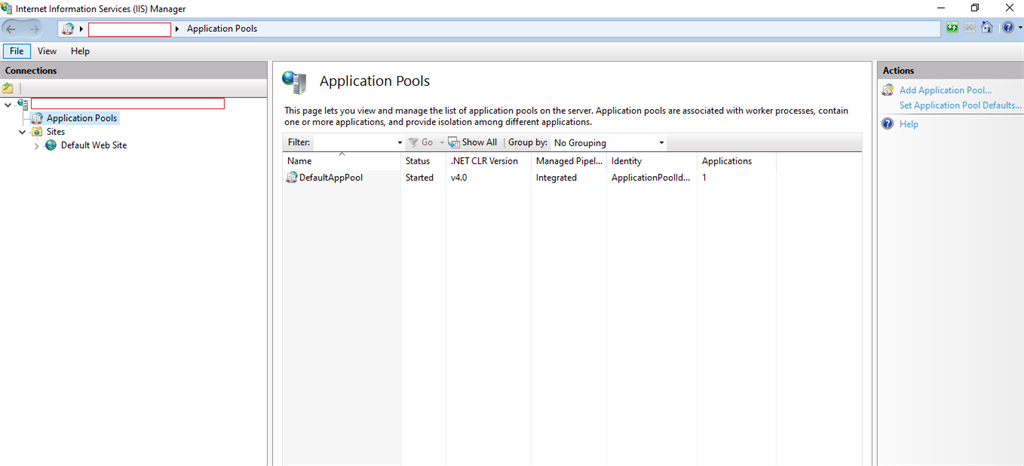
First, we will create a new Application Pool, so right-click on Application Pools and click on Add Application Pool. Then give it a name as you want and click on OK button.
After that right-click on the new app pool and select Advanced Settings. You will see the below window.
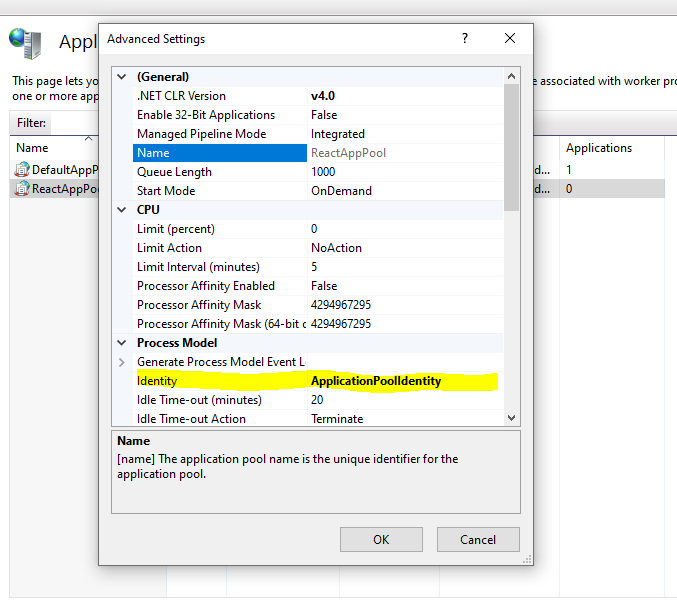
Then click on Identity and choose a Custom account and click on the set button and then add your windows credentials and click on OK.
After that right-click on Sites and then click on Add Website. Add the Site name and select application pool which we created earlier. After that under the physical path section, you have to give the path of build folder & also give the port number where you want to host.
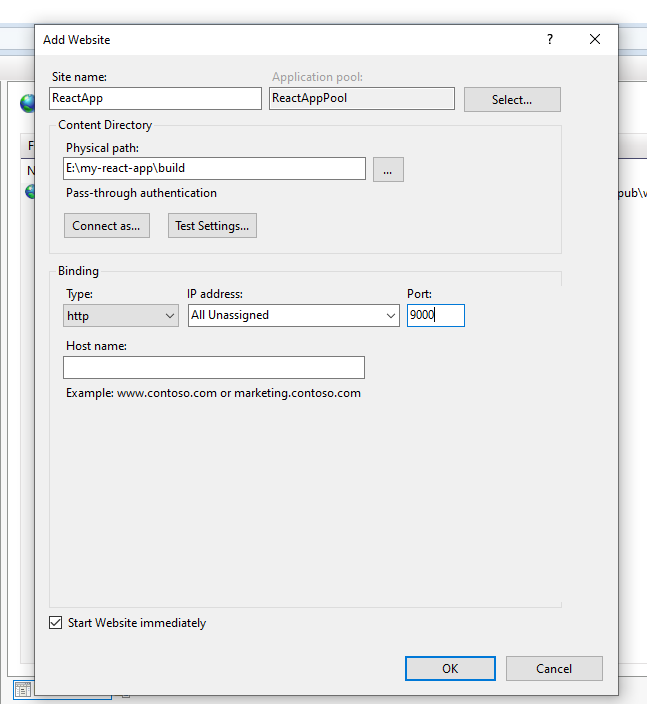
Now right click on new website i.e ReactApp -> Manage Website -> Browse. Your react app is now successfully deployed.

Now the next step is to add routing in our react application. So I have created 2 components and also added react-router-dom package for routing. Here we are not going into detail about react routing.
Home page
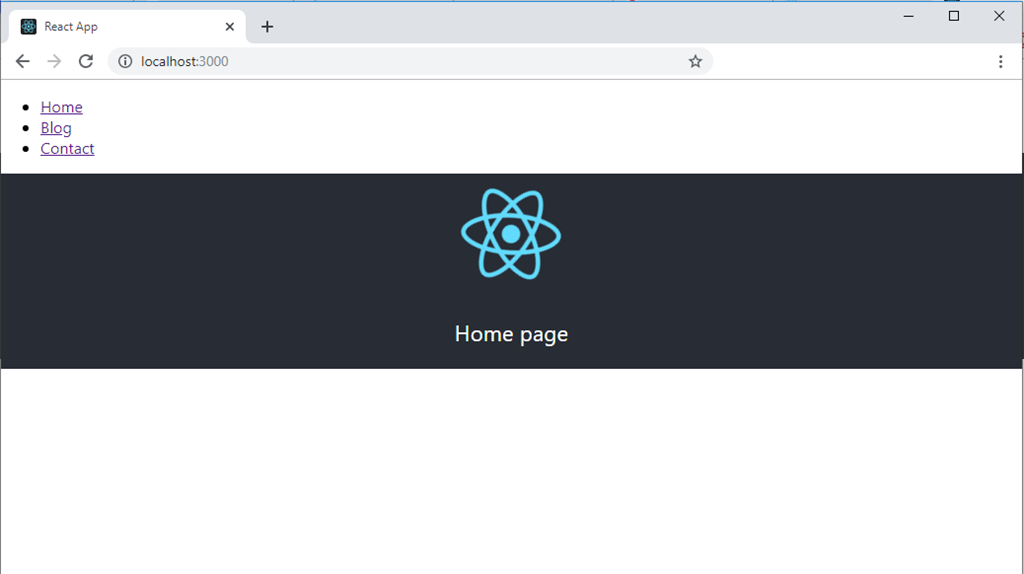
Blog page

Create a production build again and try to browse the application which we hosted on IIS. You will see the application is working fine but now try to refresh the page and see what happens. You will get the below error.
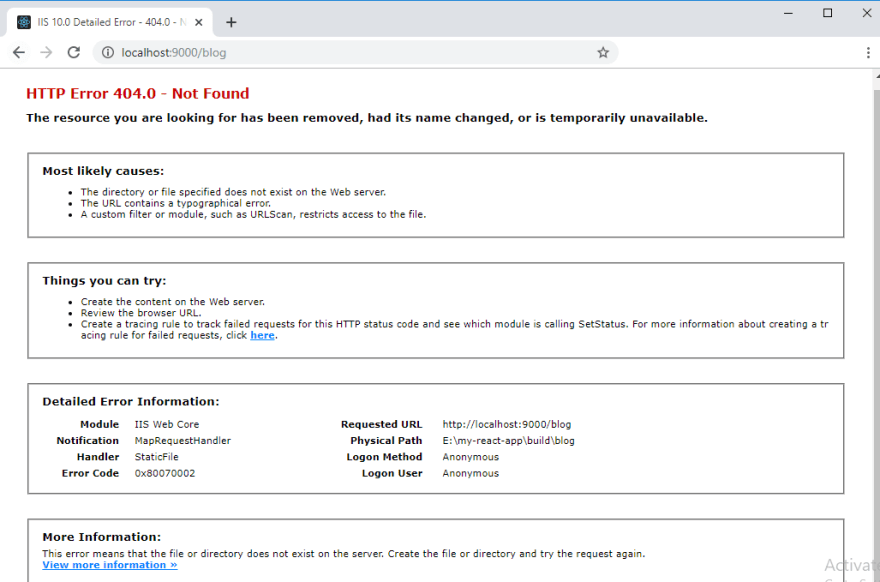
So to fix this issue you have to install URL Rewrite module. After successful installation, you have to create a web.config file under public folder of app and copy-paste the below content into it.
<?xml version="1.0"?>
<configuration>
<system.webServer>
<rewrite>
<rules>
<rule name="React Routes" stopProcessing="true">
<match url=".*" />
<conditions logicalGrouping="MatchAll">
<add input="{REQUEST_FILENAME}" matchType="IsFile" negate="true" />
<add input="{REQUEST_FILENAME}" matchType="IsDirectory" negate="true" />
<add input="{REQUEST_URI}" pattern="^/(api)" negate="true" />
</conditions>
<action type="Rewrite" url="/" />
</rule>
</rules>
</rewrite>
</system.webServer>
</configuration>
Again build the application in production mode and browse. So now if you refresh the app you will not get an error and will be able to see the correct page. That's it -- so you have successfully created and deployed React application into the IIS server.
Conclusion
I hope that you have enjoyed this article, and please do not hesitate to send me your thoughts or comments about what could I have done better.