April 28, 2021 08:12 by
 Peter
PeterIn this example we will create a Windows Form Project that will create new FTP and Web IIS Virtual Directories from code based on the name and path specified by the user. You can create virtual directories on the local computer by specifying the server name as "localhost" or you can create the virtual directory on a remote computer by specifying the machine name.

We make use of the DirectoryServices namespace for creating the Virtual directory.
Step 1: Create the Project and the basic User Interface.
Create a new Visual C# Windows Forms Project and add controls on the default form as shown below.
Figure 1: User interface
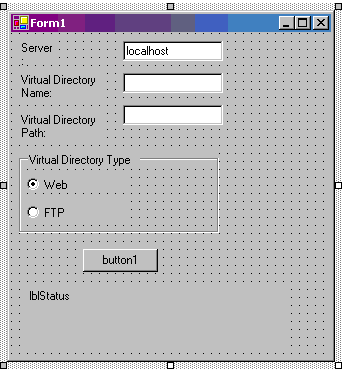
Figure 1: User interface
| Control |
Property Name |
Property Value |
| Label |
Text |
Server |
| TextBox |
Name |
txtServer |
|
Text |
localhost |
| Label |
Text |
Virtual Directory Name |
| TextBox |
Name |
txtVDirName |
| Label |
Text |
Virtual Directory Path |
| TextBox |
Name |
txtVDir |
| GroupBox |
Text |
Virtual Directory Type |
| RadioButton |
Label |
Web |
| RadioButton |
Label |
FTP |
| Button |
|
|
| Label |
Name |
lblStatus |
The windows form allows the user to specify the server name on which to create the virtual directory, the virtual directory name, the virtual directory path, the type of virtual directory (FTP or Web). We will now add the code to create the virtual directory when the button is clicked. The code is specified in the code listing below.
We first determine if the user has selected to create an FTP virtual directory or a Web Virtual Directory. Based on this selection, we set the values for the schema name and a part of the path for the IIS root to create the node in. We now create a DirectoryEntry object for the root of the IIS directory on the server specified by the user which points to the web or ftp root. We then add a node to the children collection of the root node and set the value for the Path property of the newly created node. If the user selected to create a web virtual directory, we set the new node as an application. We then commit the changes and close the directory entry nodes. Finally we display the status - whether successful or error, to the user. You need to make sure that the user has the privileges to create the new virtual directories before running the sample.
private void button1_Click(object sender, System.EventArgs e)
{
string strSchema= "";
string strRootSubPath = "";
if (radioButton1.Checked)
{
strSchema = "IIsWebVirtualDir";
strRootSubPath = "/W3SVC/1/Root";
}
if (radioButton2.Checked)
{
strSchema = "IIsFtpVirtualDir";
strRootSubPath = "/MSFTPSVC/1/Root";
}
if (strSchema == "")
{
strSchema = "IIsWebVirtualDir";
strRootSubPath = "/W3SVC/1/Root";
}
DirectoryEntry deRoot= new DirectoryEntry("IIS://" + txtServer.Text + strRootSubPath);
try
{
deRoot.RefreshCache();
DirectoryEntry deNewVDir = deRoot.Children.Add(txtVDirName.Text,strSchema);
deNewVDir.Properties["Path"].Insert(0,txtVDir.Text);
deNewVDir.CommitChanges();
deRoot.CommitChanges();
// Create a Application
if (strSchema == "IIsWebVirtualDir")
deNewVDir.Invoke("AppCreate",true);
// Save Changes
deNewVDir.CommitChanges();
deRoot.CommitChanges();
deNewVDir.Close();
deRoot.Close();
lblStatus.Text = "Virtual Directory " + txtVDirName.Text + "(" + txtVDir.Text + ") has been created";
}
catch (Exception ex)
{
lblStatus.Text = "Error: " + ex.Message;
}
}
Code Listing : Button Click event handler code - create a new virtual directory.
Please refer to the complete code listing available for download at the top of the article.
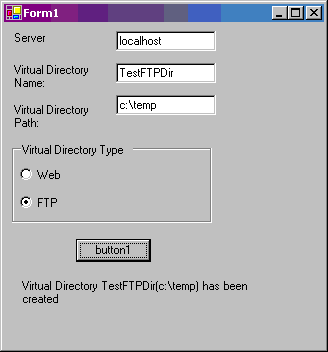
Figure : Creating a virtual directory from our program. This creates a FTP Virtual directory named "TestFTPDir" pointing to path "C:\Temp"
April 22, 2021 08:13 by
PeterWhen I worked on my friend’s desktop, I just wanted to create a virtual directory. So I went to “Run” and typed “inetmgr”, then enter. Even though he had installed VS2010, but he did not installed/enabled IIS in the local machine.
I guess IIS is disabled by default when you install Windows. So here I’m going to explain the steps on how to install/enable IIS in Windows 7 system.
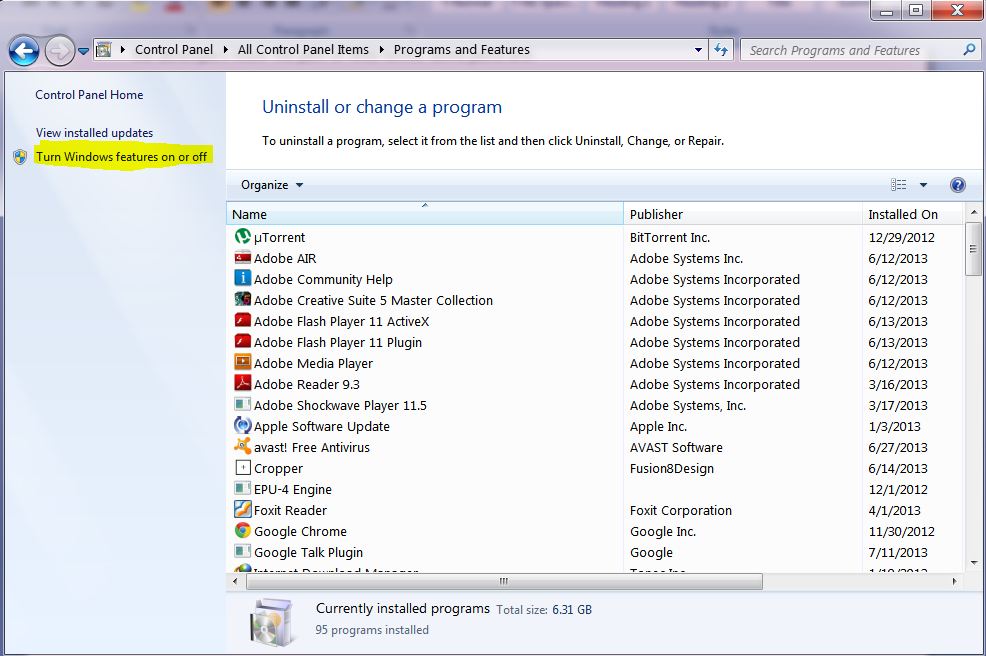
Step 1: Go to "Control panel" and select "Programs and Features" or simply type “appwiz.cpl” in a run.

Step 2: On the left-hand side, click on the link “Turn Windows features on or off”.
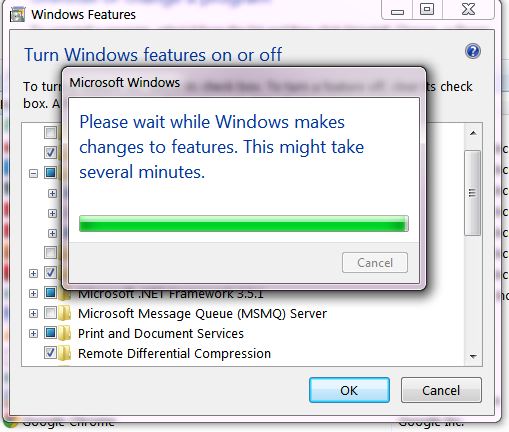
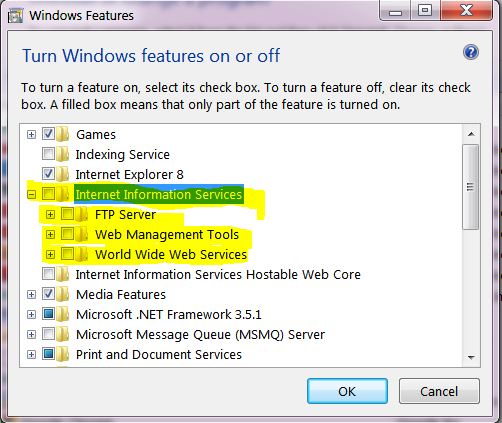
Step 3: As a result, you got “Windows Features” popup in that check the checkboxes as shown below.

Step 4: That’s it! Windows will automatically install it! Now you can access the IIS by typing the command “inetmgr” in Run.