IIS 7.5 and IIS 8.0 European Hosting

BLOG about IIS 7.5 Hosting, IIS 8.0 Hosting and Its Technology - Dedicated to European Windows Hosting Customer

IIS Hosting Europe - HostForLIFE :: Publishing ASP.NET Core 8 on IIS

clock November 28, 2023 07:20 by author Peter

How do I make ASP.NET Core 8 available on IIS (Internet Information Service)?
This tutorial assumes you already have a pool set up on your Windows Server IIS.


Follow the steps to grasp the methods for publishing ASP.NET Core 8 applications on IIS settings.

You must configure your code to support IIS and the project to run on the target pool's architecture.

Check the inetmgr console, the Advanced setting..., and make sure Enable 32-Bit programs is set to true to see if your pool is running on x86.

Let's get started on the publishing process.

Step 1: Launch your new ASP.NET Core MVC application.

Step 3. I tried to publish and got an error 503. It's normal, this is what we will fix.


Step 4. So I added this code to Program.cs to enable IIS Server options.
builder.Services.Configure<IISServerOptions>(options =>
{
    options.AutomaticAuthentication = false;
});

Step 5. Open the solution configuration, and choose New... from Active solution platform.

Step 6. Choose your architecture pool. It should be the same as the pool on IIS (x86 for 32-Bits).


Step 7. It will look like this.

Step 8. Back to Publish configuration, you need to change for this.

Step 9. But you will get the same error if you try to publish.

Step 10. To fix this, you need to configure your application to run under Windows, adding <TargetFramework>net8.0-windows</TargetFramework>, unload the project and edit it.
<Project Sdk="Microsoft.NET.Sdk.Web">

  <PropertyGroup>
    <TargetFramework>net8.0-windows</TargetFramework>
    <Nullable>enable</Nullable>
    <ImplicitUsings>enable</ImplicitUsings>
    <Platforms>AnyCPU;x86</Platforms>
  </PropertyGroup>

</Project>


Step 11. Now, if you open the Properties of your application, you will see that it is enabled to Target OS version 7.0.


Step 12. Now, you need to select the Target Framework: with "net8.0-windows":


Step 13. Before publishing a dotnet, copy the file app_offline.htm to the target IIS installation folder. This turns off the website so this message is displayed if you try to use it:


Step 13.1. Extra source code, Microsoft default source code. If the file name app_offline.htm indicates to dotnet that the execution should be terminated, it automatically redirects to it. You can customize this file as you like.
<!doctype html>
<title>Site Maintenance</title>
<style>
  body { text-align: center; padding: 150px; }
  h1 { font-size: 50px; }
  body { font: 20px Helvetica, sans-serif; color: #333; }
  article { display: block; text-align: left; width: 650px; margin: 0 auto; }
  a { color: #dc8100; text-decoration: none; }
  a:hover { color: #333; text-decoration: none; }
</style>

<article>
    <h1>We&rsquo;ll be back soon!</h1>
    <div>
        <p>Sorry for the inconvenience but we&rsquo;re performing some maintenance at the moment. we&rsquo;ll be back online shortly!</p>
    </div>
</article>

Step 14. Copy the files, then delete the app_offline.htm file to run the application. This is the result.

Conclusion
There are a few steps, but it is essential to follow them to succeed in publishing ASP.NET Core 8 applications.


IIS Hosting Europe - HostForLIFE :: IIS Server is Used to Host and Publish .NET Core 6 Web API Applications

clock November 8, 2023 09:25 by author Peter

Internet Information Service (IIS) is essentially Microsoft's versatile and general-purpose web server that will run on Windows and be used to serve requested files.

Required Tools

  • IIS Manager
  • .NET Core SDK 6
  • Visual Studio 2022


Let’s start
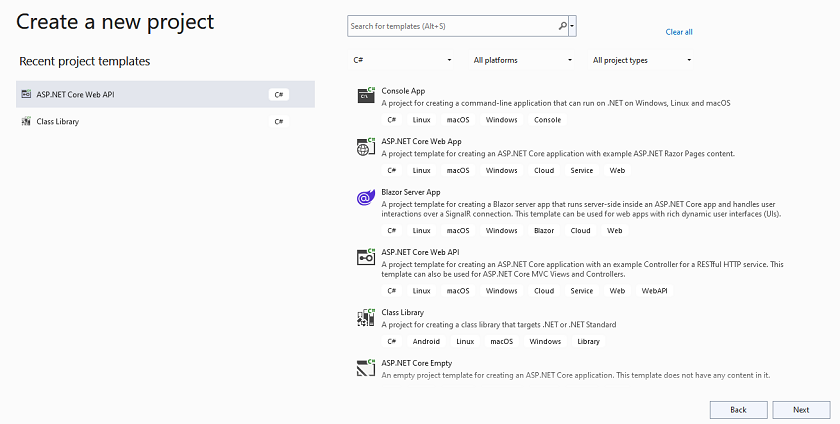
Step 1. Create a new .NET Core Web API Project.

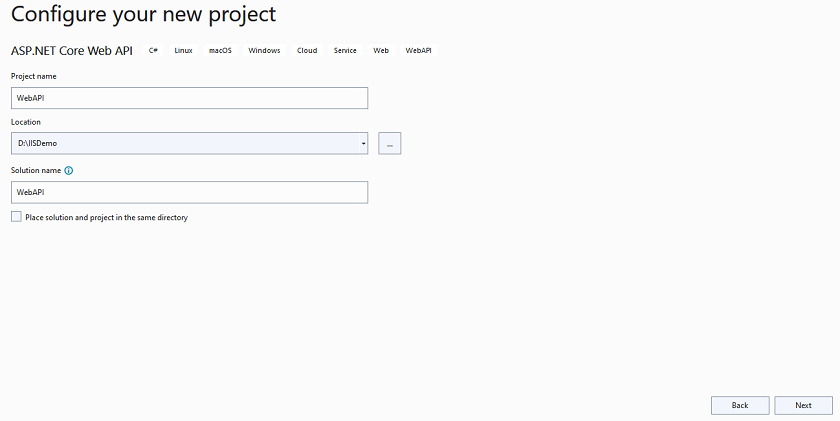
Step 2: Set up your new project.

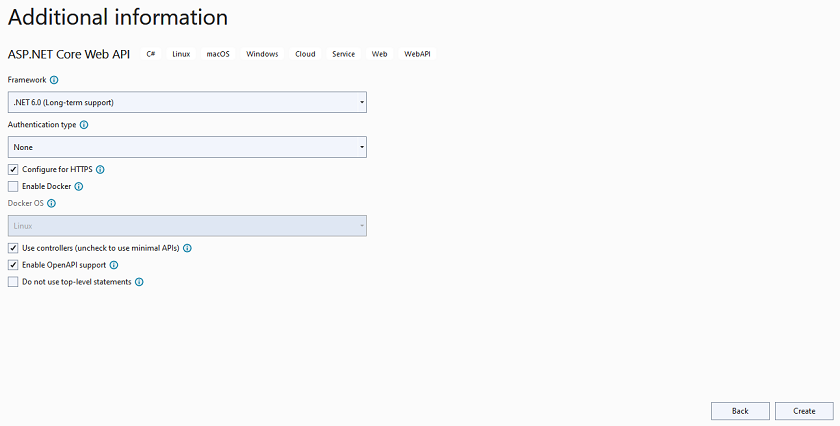
Step 3: Include details such as the.NET Framework version, Open API, and HTTPS.

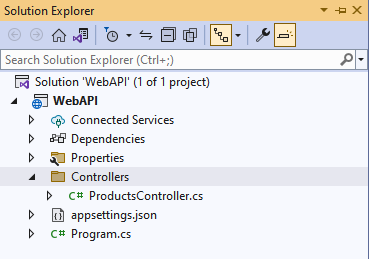
Step 4. Project Structure

Step 5: Create the Product Controller and add one endpoint within that class, as well as inspect the other files that are generated by default.

using Microsoft.AspNetCore.Mvc;
namespace WebAPI.Controllers {
    [Route("api/[controller]")]
    [ApiController]
    public class ProductsController: ControllerBase {
        [HttpGet]
        [Route("list")]
        public IDictionary < int, string > Get() {
            IDictionary < int, string > list = new Dictionary < int, string > ();
            list.Add(1, "IPhone");
            list.Add(2, "Laptop");
            list.Add(3, "Samsung TV");
            return list;
        }
    }
}

Program.cs file

var builder = WebApplication.CreateBuilder(args);
// Add services to the container.
builder.Services.AddControllers();
// Learn more about configuring Swagger/OpenAPI at https://aka.ms/aspnetcore/swashbuckle
builder.Services.AddEndpointsApiExplorer();
builder.Services.AddSwaggerGen();
var app = builder.Build();
// Configure the HTTP request pipeline.
if (app.Environment.IsDevelopment() || app.Environment.IsProduction()) {
    app.UseSwagger();
    app.UseSwaggerUI();
}
app.UseHttpsRedirection();
app.UseAuthorization();
app.MapControllers();
app.Run();


Here also, you can see we configure the HTTP request pipeline for both Development and Production Environment.

WebAPI.csproj file
<Project Sdk="Microsoft.NET.Sdk.Web">
  <PropertyGroup>
    <TargetFramework>net6.0</TargetFramework>
    <Nullable>enable</Nullable>
    <ImplicitUsings>enable</ImplicitUsings>
  </PropertyGroup>
  <ItemGroup>
    <PackageReference Include="Swashbuckle.AspNetCore" Version="6.2.3" />
  </ItemGroup>
</Project>


launchSetting.json file
{
  "$schema": "https://json.schemastore.org/launchsettings.json",
  "iisSettings": {
    "windowsAuthentication": false,
    "anonymousAuthentication": true,
    "iisExpress": {
      "applicationUrl": "http://localhost:11254",
      "sslPort": 44315
    }
  },
  "profiles": {
    "WebAPI": {
      "commandName": "Project",
      "dotnetRunMessages": true,
      "launchBrowser": true,
      "launchUrl": "swagger",
      "applicationUrl": "https://localhost:7047;http://localhost:5047",
      "environmentVariables": {
        "ASPNETCORE_ENVIRONMENT": "Development"
      }
    },
    "IIS Express": {
      "commandName": "IISExpress",
      "launchBrowser": true,
      "launchUrl": "swagger",
      "environmentVariables": {
        "ASPNETCORE_ENVIRONMENT": "Development"
      }
    }
  }
}


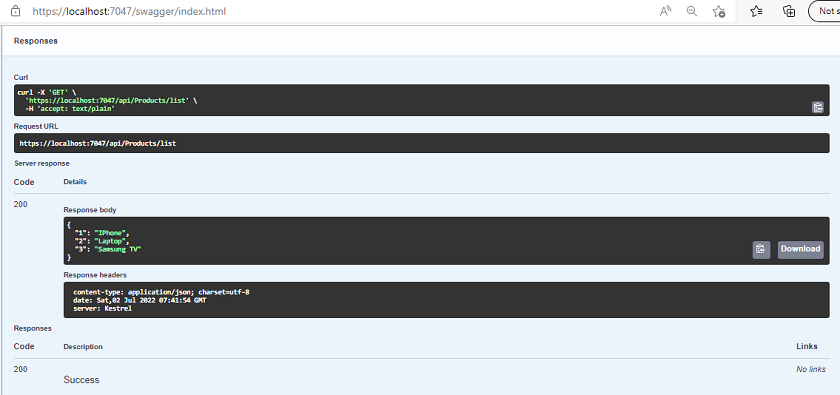
Step 6. Run your application and hit the API endpoint using Swagger UI

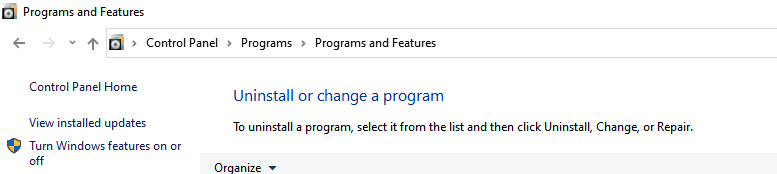
Step 7. Check your all IIS Services are running on your system properly or not. If not, then open the control panel go to the program and features, and click on Turn Windows Feature on or off.


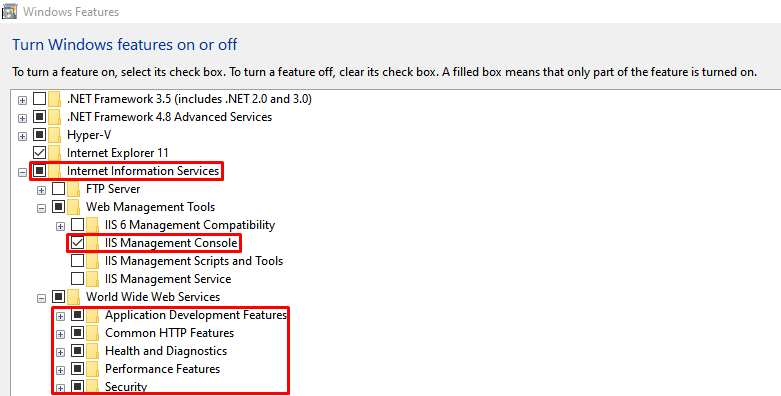
Apply the changes as I showed you in the above image. Click on apply and then restart your computer

Step 8. After restarting your computer will see IIS Manager in the search box and open it.

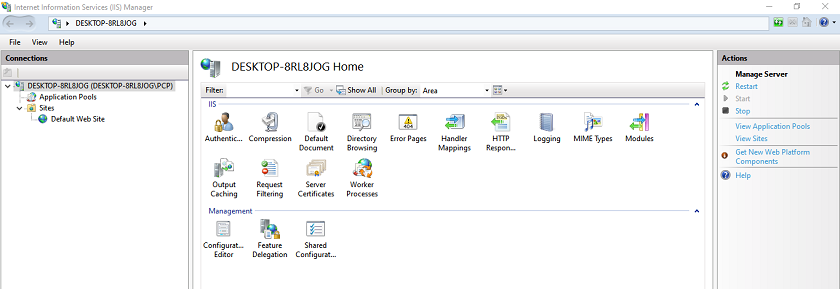
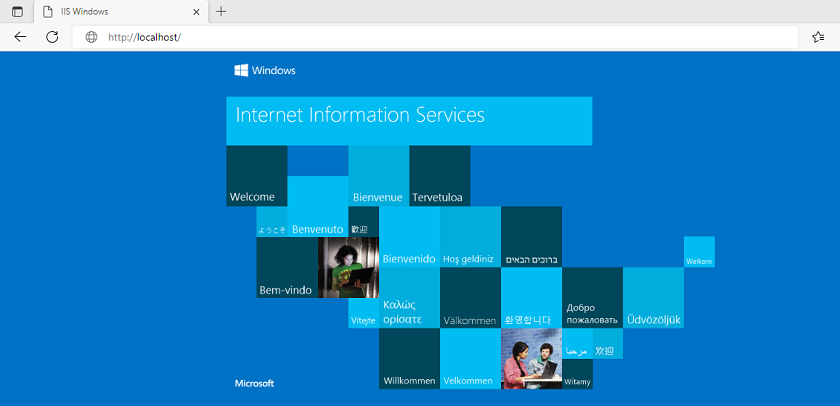
Now, check your running IIS using localhost in the browser

Step 9. Install ASP.NET Core 6.9 Runtime – Windows Hosting Bundle Installer

    Windows hosting bundle installer

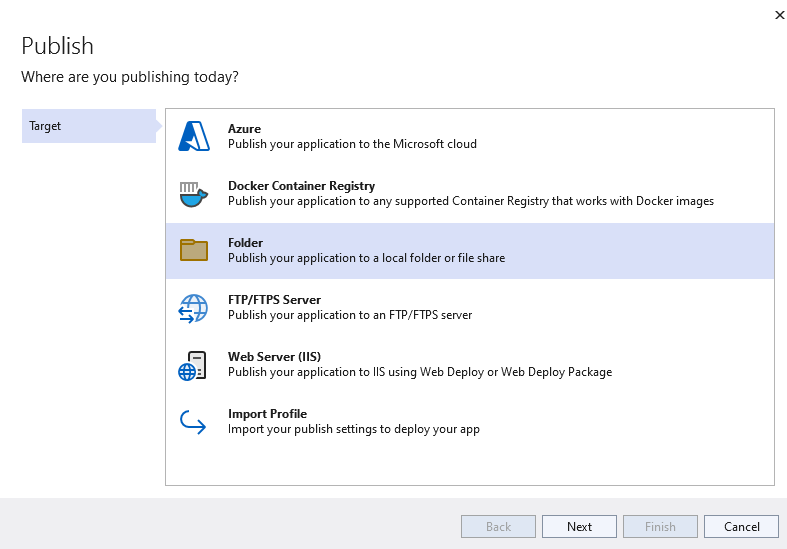
Step 10. Now, we are going to publish our application for that; right-click on WebAPI Project and click on Publish


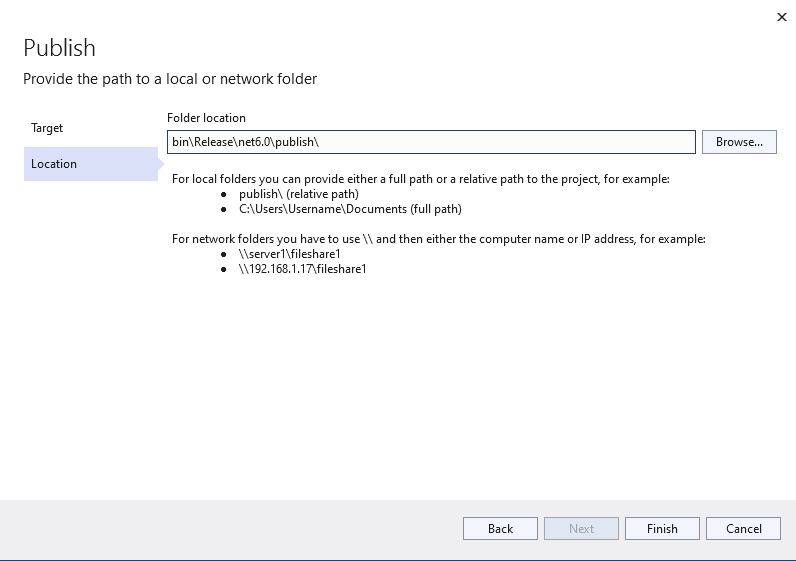
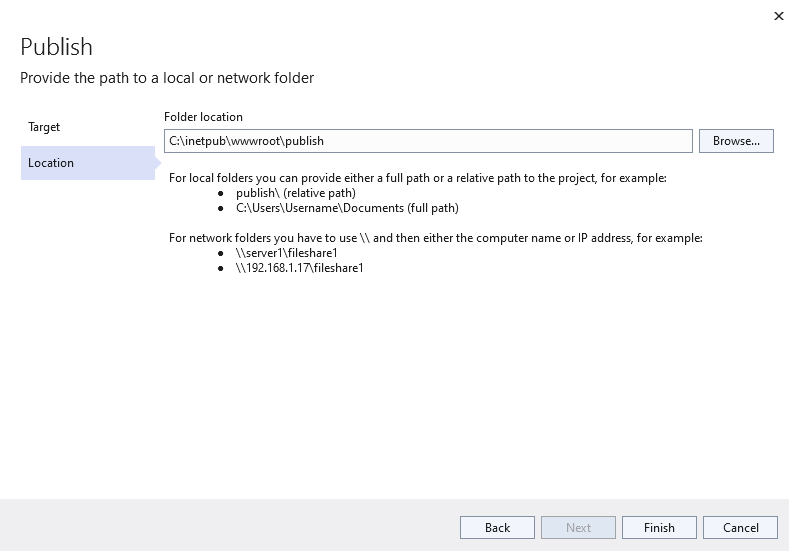
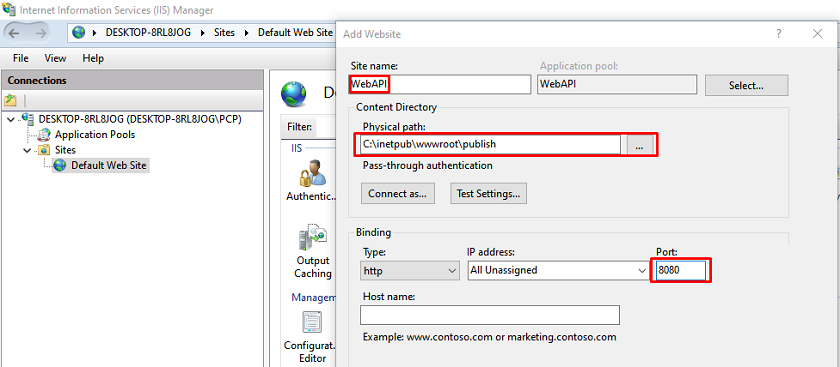
As you see, it will take the default path, so change that path to c:\inetpub\wwwroot\publish after creating the publish folder over there

Step 11. Here you can see all the configurations related to publishing, like path and some environmental variables, and later on, click on Publish

Step 12. Open IIS Manager and create a new Web Application after right click on the sites

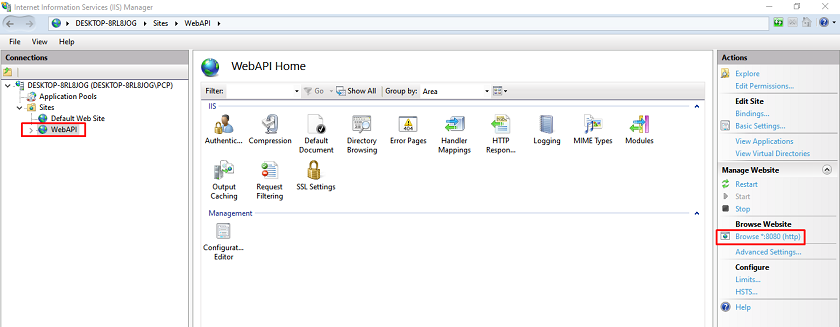
Step 13. Click on Web API, and on the right side, you can see the browse option, so click on that and open the application inside the browser


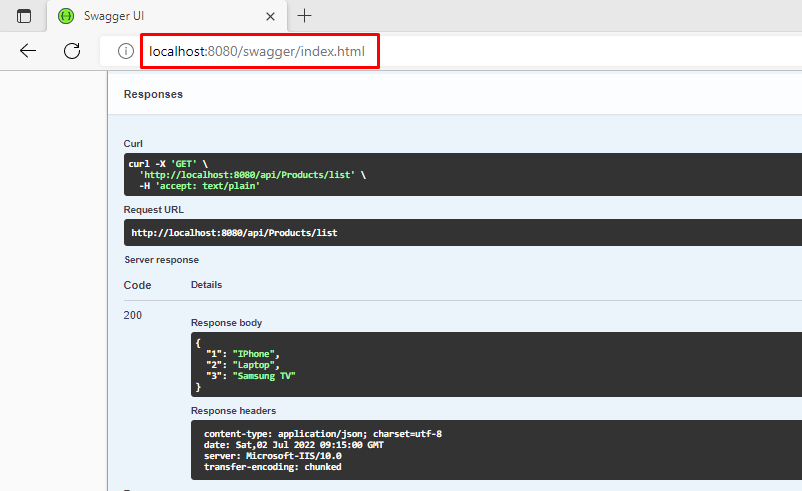
Step 14. In the browser, when you hit the Web API endpoint using Swagger, then will see the following list of products as an output

Conclusion
In this article, we discussed.NET Core 6 Web API hosting and publishing using IIS, as well as associated topics step by step. I hope you comprehend everything.


About HostForLIFE.eu

HostForLIFE.eu is European Windows Hosting Provider which focuses on Windows Platform only. We deliver on-demand hosting solutions including Shared hosting, Reseller Hosting, Cloud Hosting, Dedicated Servers, and IT as a Service for companies of all sizes.

We have offered the latest Windows 2016 Hosting, ASP.NET Core 2.2.1 Hosting, ASP.NET MVC 6 Hosting and SQL 2017 Hosting.


Tag cloud

Sign in