I'll walk you through the correct and simplest approach to install and setup a read-only domain controller on Windows Server 2019 in this post.

A read-only domain controller (RODC): what is it?
In Microsoft's Active Directory service, a Read-Only Domain Controller (RODC) is a unique kind of domain controller that offers a read-only replica of the primary Active Directory database. It provides features that are comparable to those of a typical domain controller yet differ significantly.
Key Structures of an RODC
- Read-only access: Users can search for domain resources, authenticate, and receive group policies like a regular domain controller. However, they cannot modify any data directly on the RODC.
- Security focus: Primarily for secure environments where physical access to the server might be compromised. Since it doesn't store user passwords, an attacker gaining access wouldn't have access to critical credentials.
- Limited functionality: Unlike standard domain controllers, RODCs cannot be used for tasks like creating user accounts, resetting passwords, or modifying group policies.
- Offline functionality: RODCs can cache login credentials for a limited set of users, allowing users to log in even when the connection to the main domain is unavailable.
Benefits of using an RODC
- Improved security: Reduced risk of sensitive data like passwords being compromised if the RODC is physically compromised.
- Increased availability: Allows users to access domain resources even when the connection to the main domain is unavailable (cached credentials).
- Reduced bandwidth consumption: Requires less bandwidth compared to a full domain controller as it only replicates data from the main domain, not vice versa.
Note. We need two server operating systems server one has ADDS and DHCP with configuration, on server two without any configuration.
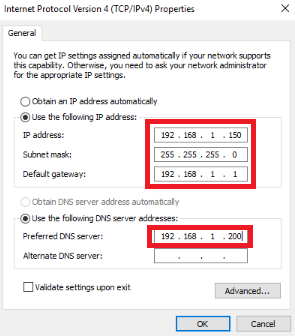
Step 1. On your server two set an IP address based on server one’s IP address.
Step 2. Create a user on server one. If you want to know how to create a user
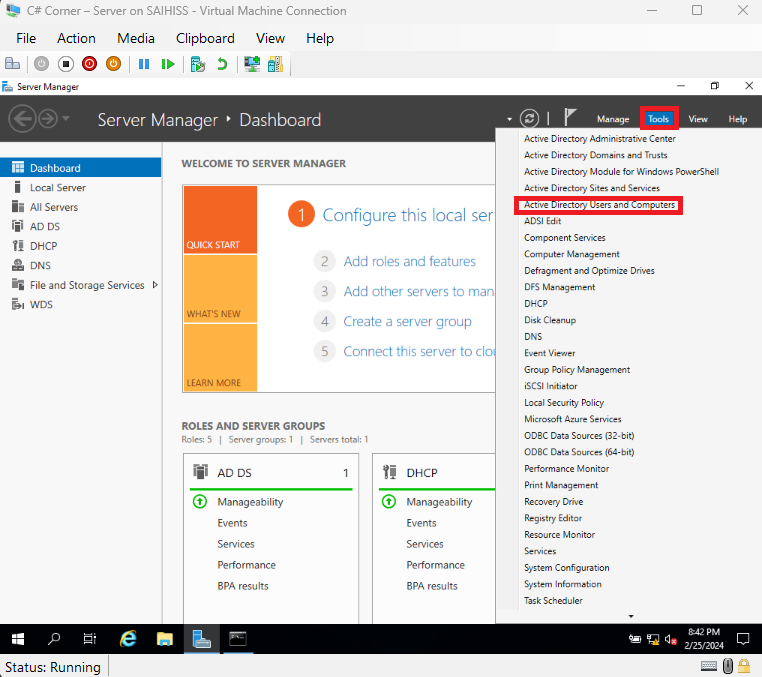
Step 3. On your server, one’s dashboard clicks “tool” after clicking “active directory users and computers”.
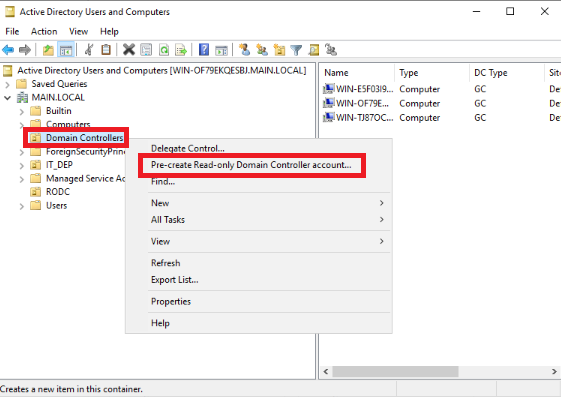
Step 4. Right–click on “domain controllers” after clicking “pre–create read-only domain controller account”.
Step 5. Click “next”.
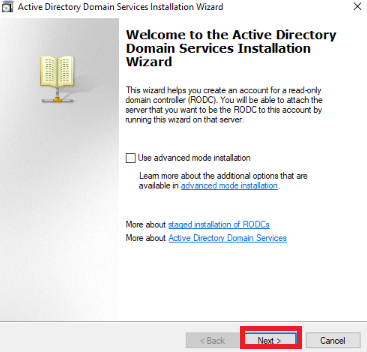
Step 6. Select “my current login” after clicking “next”.
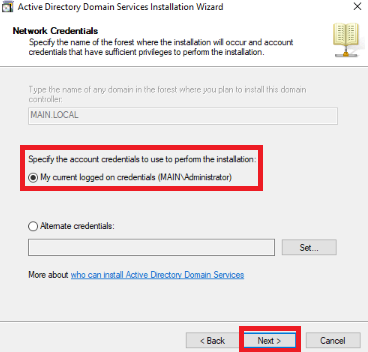
Step 7. Type your server two’s computer name and click “next”.
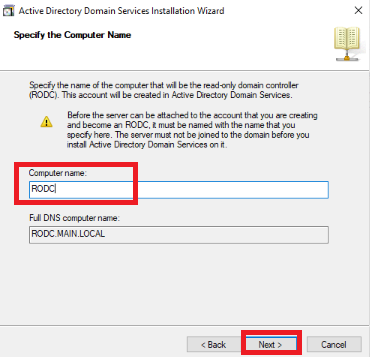
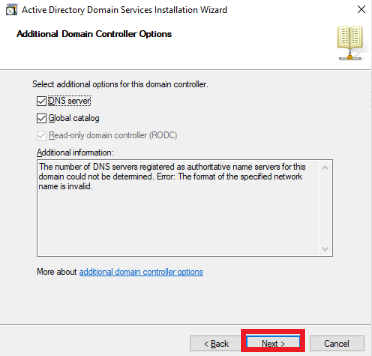
Step 8. Click “next”.
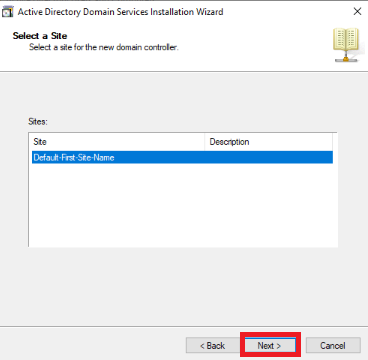
Step 9. Again click “next”.
Step 10. Click “set” and choose your created user account after clicking “next”.
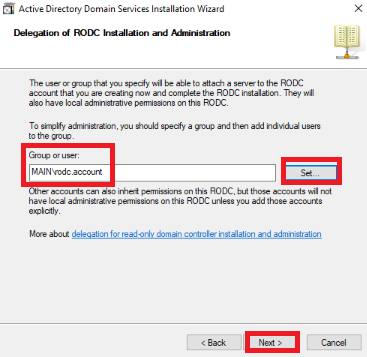
Step 11. Again click “next”.
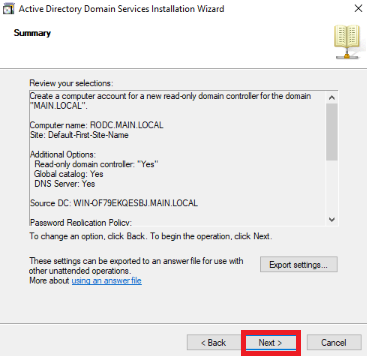
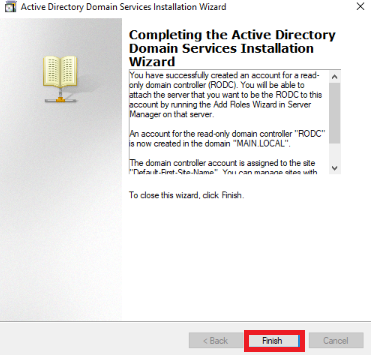
Step 12. Click “finish”.
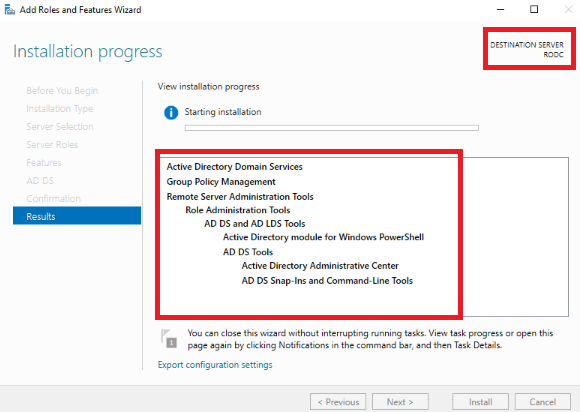
Step 13. On your Second Server / Server Two install adds services
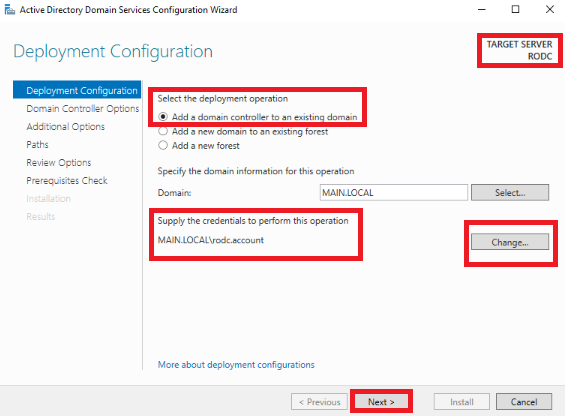
Step 14. Login to your created user account and password by clicking “change” after clicking “next”.
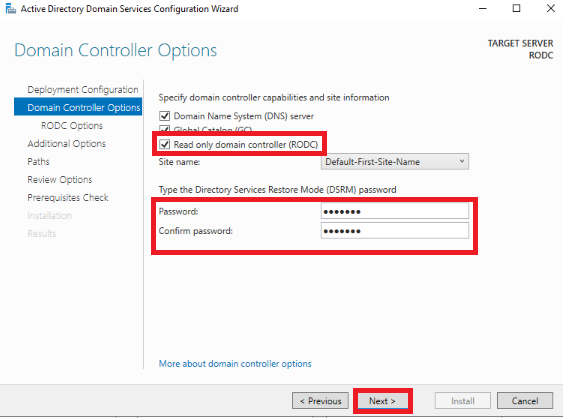
Step 15. Click “RODC” and give your “DSRM” password and after click “next”.
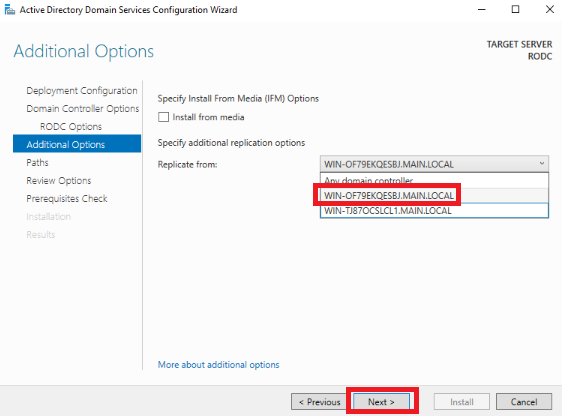
Step 16. Select your main server/server one after clicking “next”.
Step 17. Click “next”.
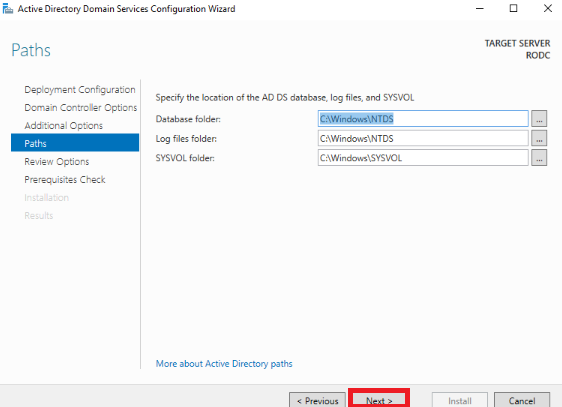
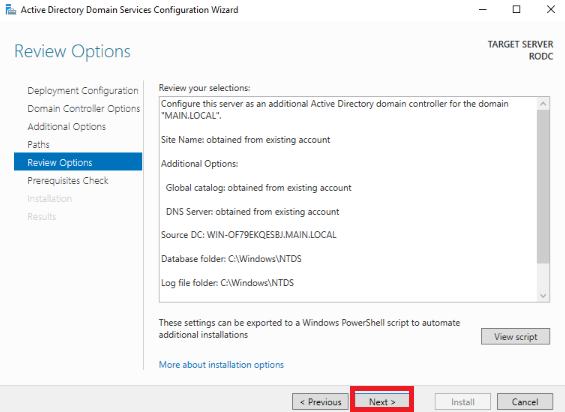
Step 18. Again click “next”.
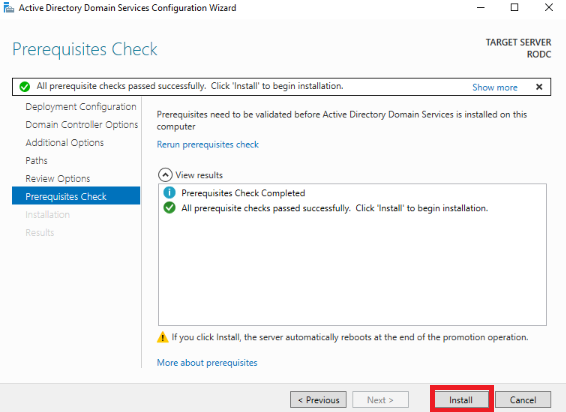
Step 19. Click “install”.
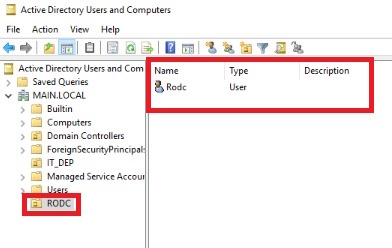
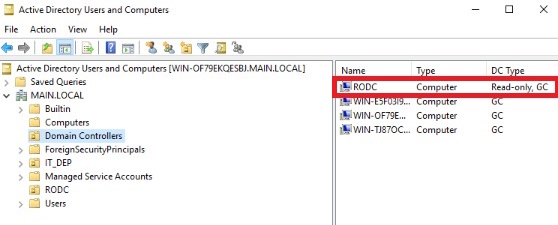
Note. On your main server/server one’s active directory users and computers” under domain controllers, you can see our RODC server in online.
Conclusion
In this article, we all clearly understand how to install and configure a read-only domain controller on Windows Server 2019 in the proper method and easiest way. If there is clarification regarding this topic, feel free to contact me.