April 22, 2021 08:13 by
 Peter
PeterWhen I worked on my friend’s desktop, I just wanted to create a virtual directory. So I went to “Run” and typed “inetmgr”, then enter. Even though he had installed VS2010, but he did not installed/enabled IIS in the local machine.
I guess IIS is disabled by default when you install Windows. So here I’m going to explain the steps on how to install/enable IIS in Windows 7 system.
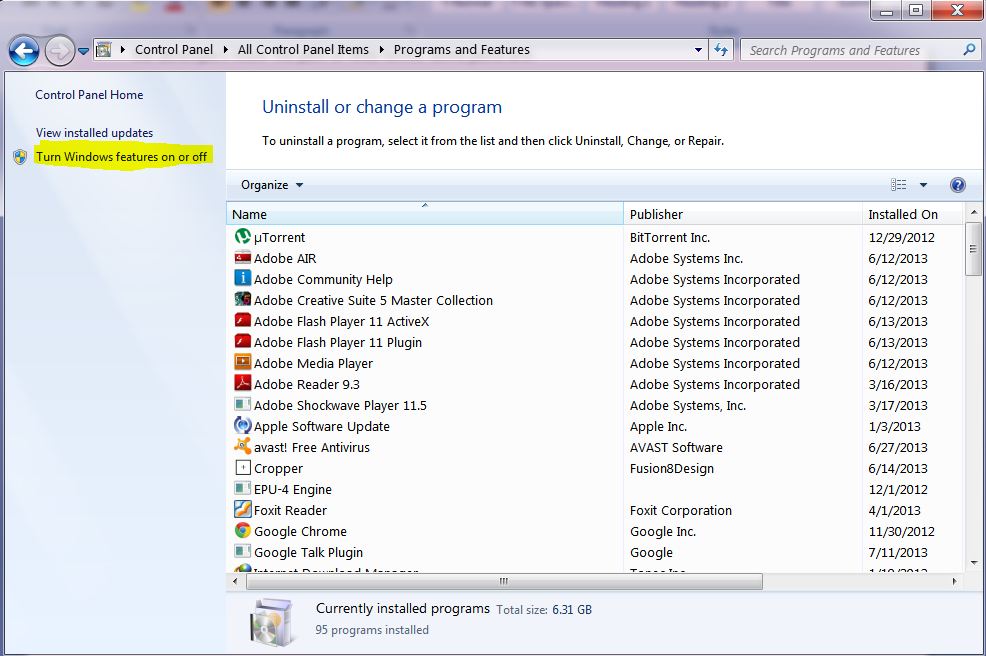
Step 1: Go to "Control panel" and select "Programs and Features" or simply type “appwiz.cpl” in a run.

Step 2: On the left-hand side, click on the link “Turn Windows features on or off”.
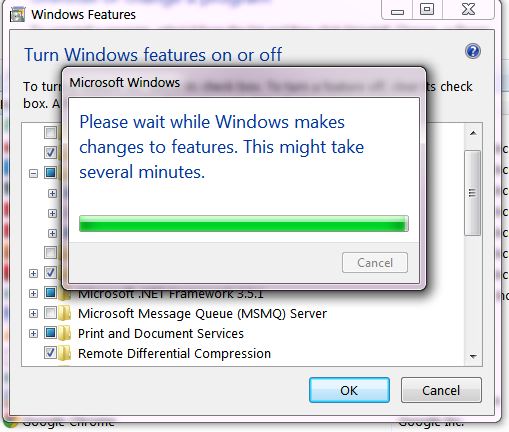
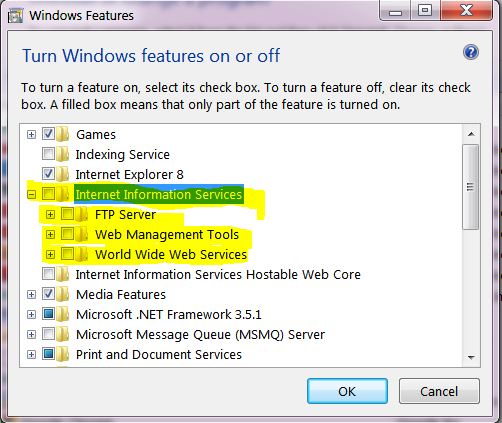
Step 3: As a result, you got “Windows Features” popup in that check the checkboxes as shown below.

Step 4: That’s it! Windows will automatically install it! Now you can access the IIS by typing the command “inetmgr” in Run.