ASP.NET Core is a cross platform and open source framework which is used to build modern web apps, API services and many more. In this article we are going to see how to deploy the ASP.NET Core API application in IIS.

Tooling
Visual Studio 2019
IIS
POSTMAN
Creating an application
Open Visual Studio 2019 -> Click on create new project from the start up screen.
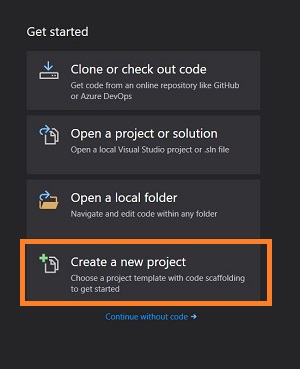
Click on ASP.NET Core Web application template -> give the project name, in my case I named it as AspCoreHosting -> click on create.
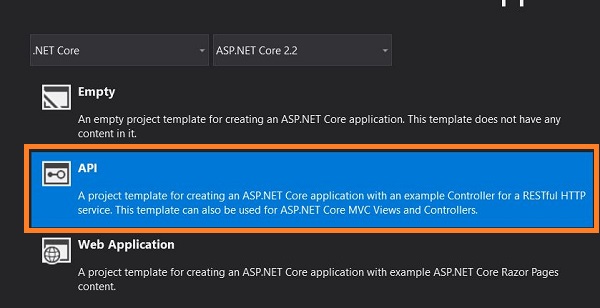
Choose API template, as shown in below figure.
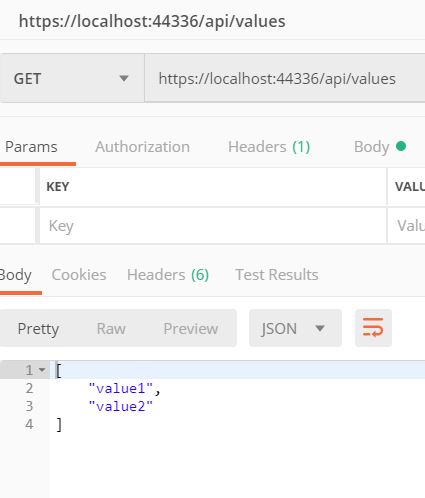
Now run the application from visual studio and test the API in POSTMAN as shown in the below figure.
Deploy the application to IIS
Let’s create a package of the application, right click on the project and select publish, as shown in the below figure.
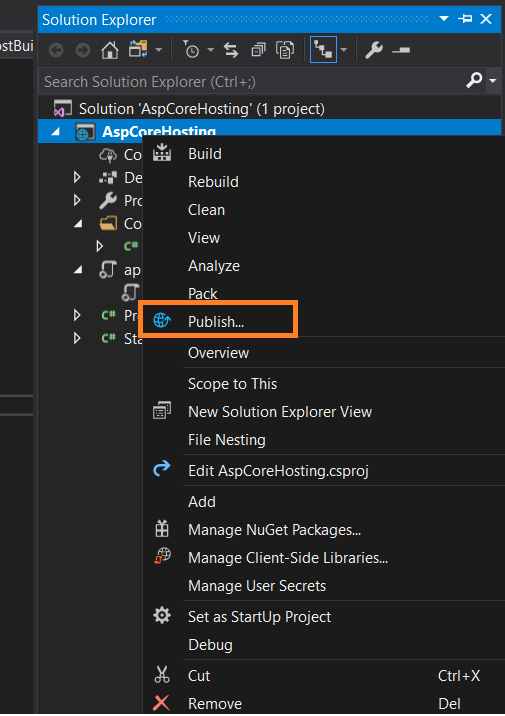
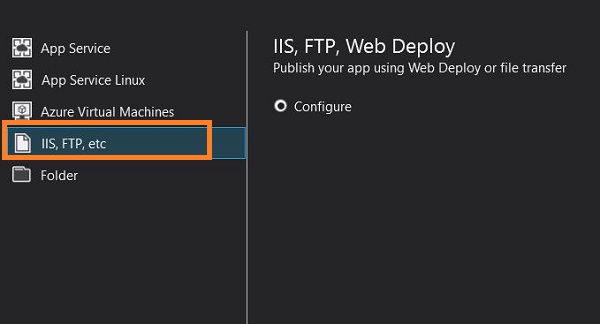
Choose IIS, FTP, etc option from publish target list and choose the publish method as file system, and click on save.
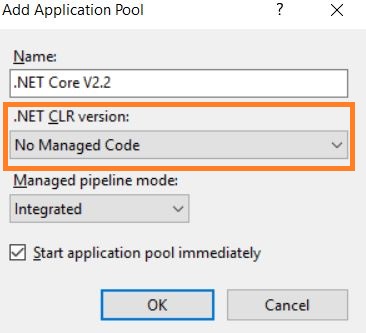
Open IIS, right click on application pools -> Add app pool -> Choose the .NET CLR Version as No Manager Code and name the app pool. in my case I named it as .NET Core V2.2 with pipeline mode as Integrated.
Note
Creating a new application pool for .NET Core is optional
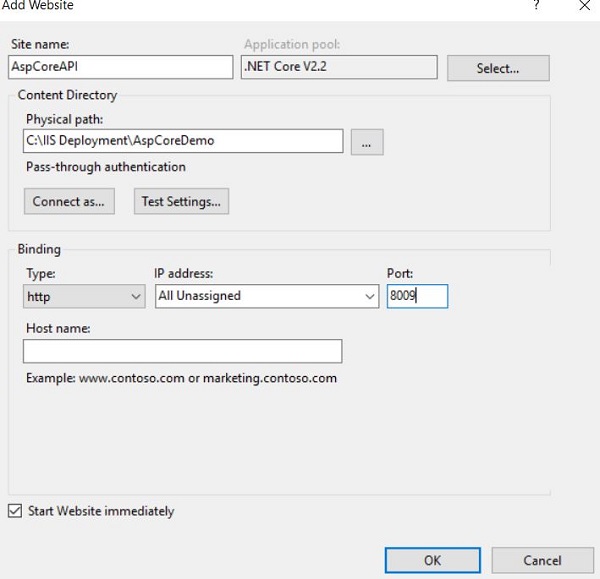
Right click on sites -> Add site ->Give the Site name -> select the Application pool as .NET Core V2.2 -> choose the package path -> and give a port number as shown in the below figure.
Run the web site
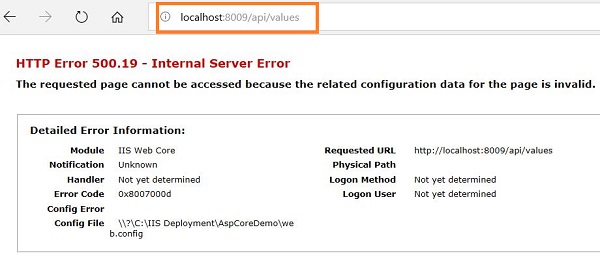
Oops we got a configuration error. The problem is, to run the .NET Core application in IIS we need to install “dot net core windows hosting bundle”. Just download and install it using the below link.
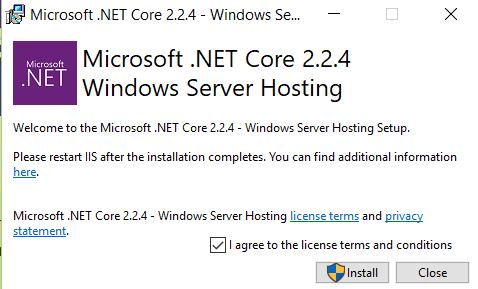
Once it is installed, test the API using POSTMAN tool
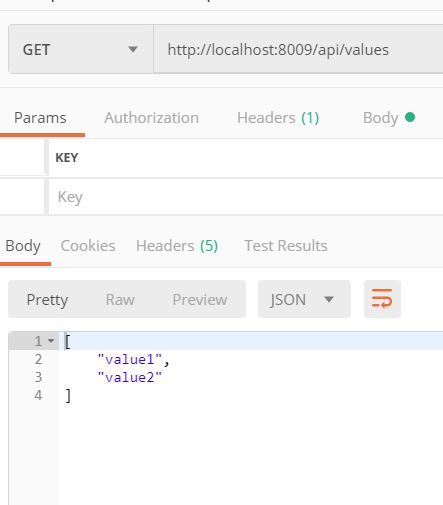
Yes, now the application is up and running in IIS
We have seen how to deploy the ASP.NET Core API application in IIS by installing the dot net core windows hosting bundle.