The Web API is a platform to develop HTTP / HTTPS based services that can be used by native applications like on smartphones, tablets and browsers. The WebApi is a core part of ASP.NET and provides ways to create Restful services and can be used by any application that can understand HTTP communications.

This article will cover the hosting of a WebApi in IIS using a sample demo. I hope you have gone through with the link above and now you at least understand the execution of WebApi. In this article we'll host the WebApi in IIS and execute all the CRUD operations step-by-step.
Step 1
Build your solution in release mode.
To build the solution, kindly download the sample application from the link Restful CRUD Operations in WebApi Using ADO.NET Objects and SQL Server and start working further. Please choose the release option from the dropdown list as encircled in red.

Step 2
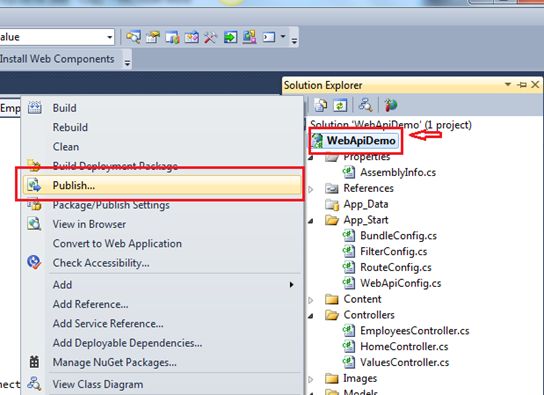
Right-click on the project and choose the publish command to publish the Web API. Kindly look at the images shown below.
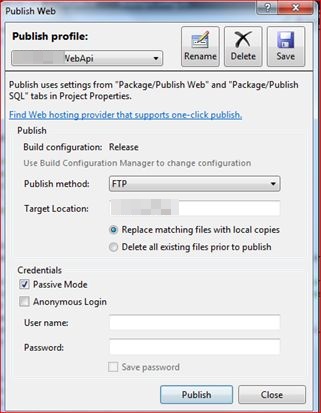
As soon as you click on the publish button it publishes the build and prompts for a message in the bottom of success as shown in the image below:

Step 3
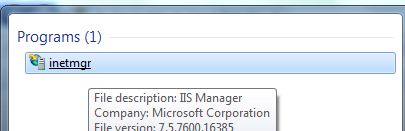
Now type "Inetmgr” in the Start window and click on inetmgr to open IIS as shown in the image below:
Step 4
To add a new application as a virtual directory right-click on the default website and click on the Add application property. Please refer to the following image.
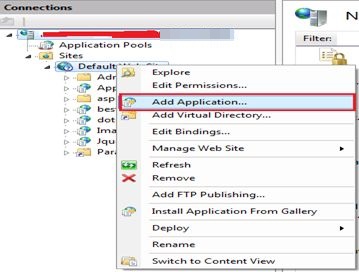
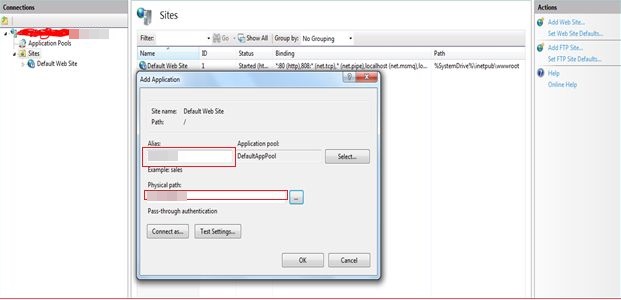
Provide an alias name of your choice and provide the physical path from your directory.
Note:
It should be a published solution path that we've created in Step 2 above.
Change the application pool “DefaultAppPool” to ASP.Net v4.0 after clicking on the “select” option. If you encounter an error like “unrecognized attribute 'targetframework'. Note that attribute names are case-sensitive IIS7” then here is the solution for that.
Step 5
The sample application has been hosted in IIS
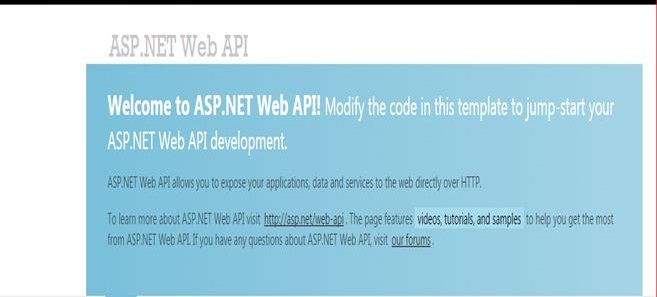
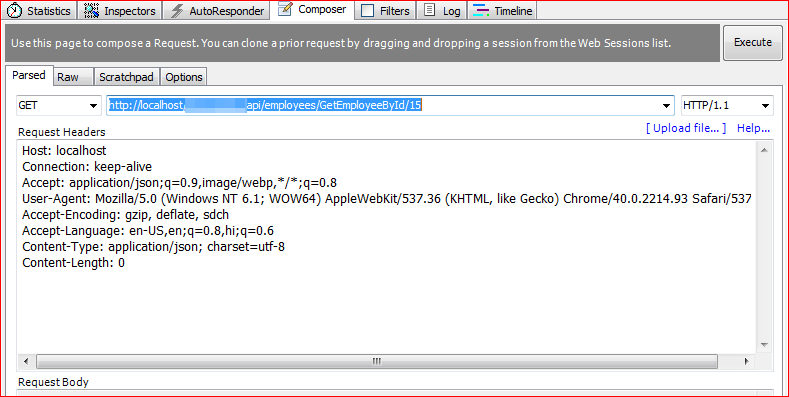
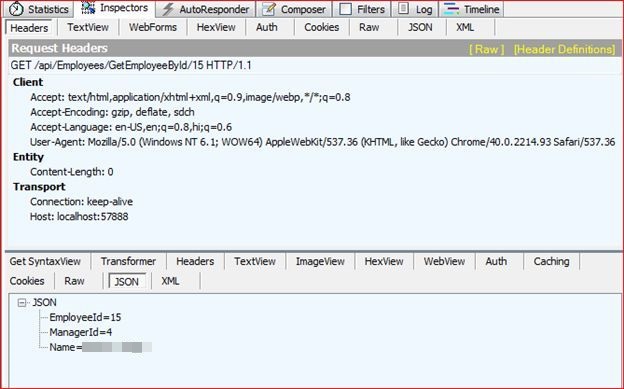
The preceding Blue screen shows that the Web API is up and running. I've used Fiddler to trace the requests, so I will open Fiddler to execute the following link to retrieve the information of the EmployeeId 15: http://localhost/hfl/api/Employees/GetEmployeeById/15
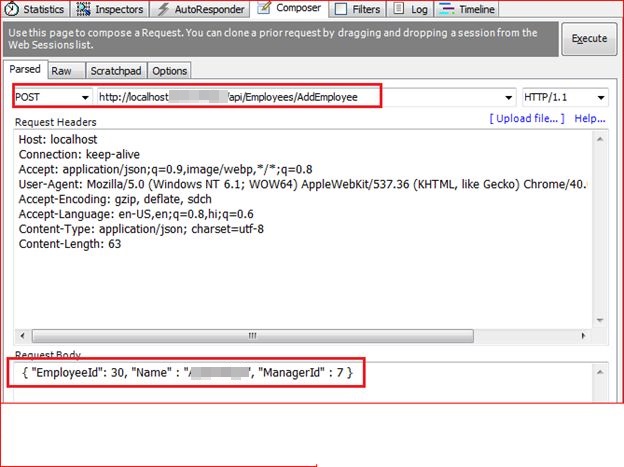
Execution of AddEmployee (POST) Method of WebApi
Since the WebApi is already in running mode, I'll execute the following link to add an employee to the database. http://localhost/hfl/api/Employees/AddEmployee and will pass the following JSON parameters { "EmployeeId": 30, "Name" : "Peter", "ManagerId" : 7 }.
Please open the database to confirm whether or not the user has been added to the database. We are nearly done with the execution of the Post method.
Execution of DeleteEmployeeById (Delete) Method of WebApi.
Now open the EmployeeController again and paste the following code into that as the Delete WebApi method:
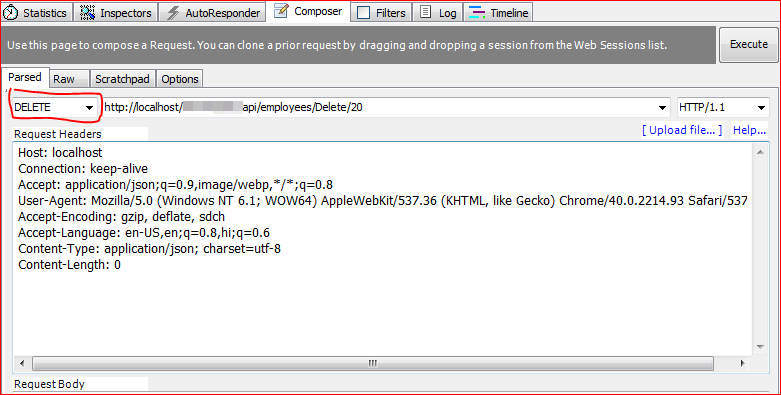
Since the WebApi is already in running mode, I'll execute the following link to delete an employee by the employee id database. http://localhost/DotnetPiper/api/Employees/Delete/20.
Note: If you face an error at time of execution of DELETE and PUT.Kindly refer this link for resolution.
WepApi HTTP Error 405.0 - Method Not Allowed
Please open the database to confirm that EmployeeId “20” has been deleted. Kindly look at the image shown below.

Note: I have intentionally left the implementation of the Update method so that the end user can have hands-on to this. I'll also add a database backup for user help.
Go through with these detailed links to learn more about the WebApi.
How MediaTypeFormatter and MediaTypeMapping are associated with each other in the WebApi.
WebAPI: MediaTypeFrommatters in WebAPI.
Detailed links to learn more about the WebApi.
Points to consider:
You should have a little knowledge of the WebApi.
You should have knowledge of the Fiddler tool to execute the functionality.
There is a need for SQL Server also.
I hope it will help you somewhere down the line.
Keep coding and smiling.